[ Alto Works ] Rear Bumper Cut (Dat Butt)
With the front bumper getting all the attention, I had to show a little love to the rear of the Alto as well. I can never leave well enough alone, as there is always something that can be done in the name of improvement… or at the very least, custom looks. (Warning, lots of rear-end shots ahead.)
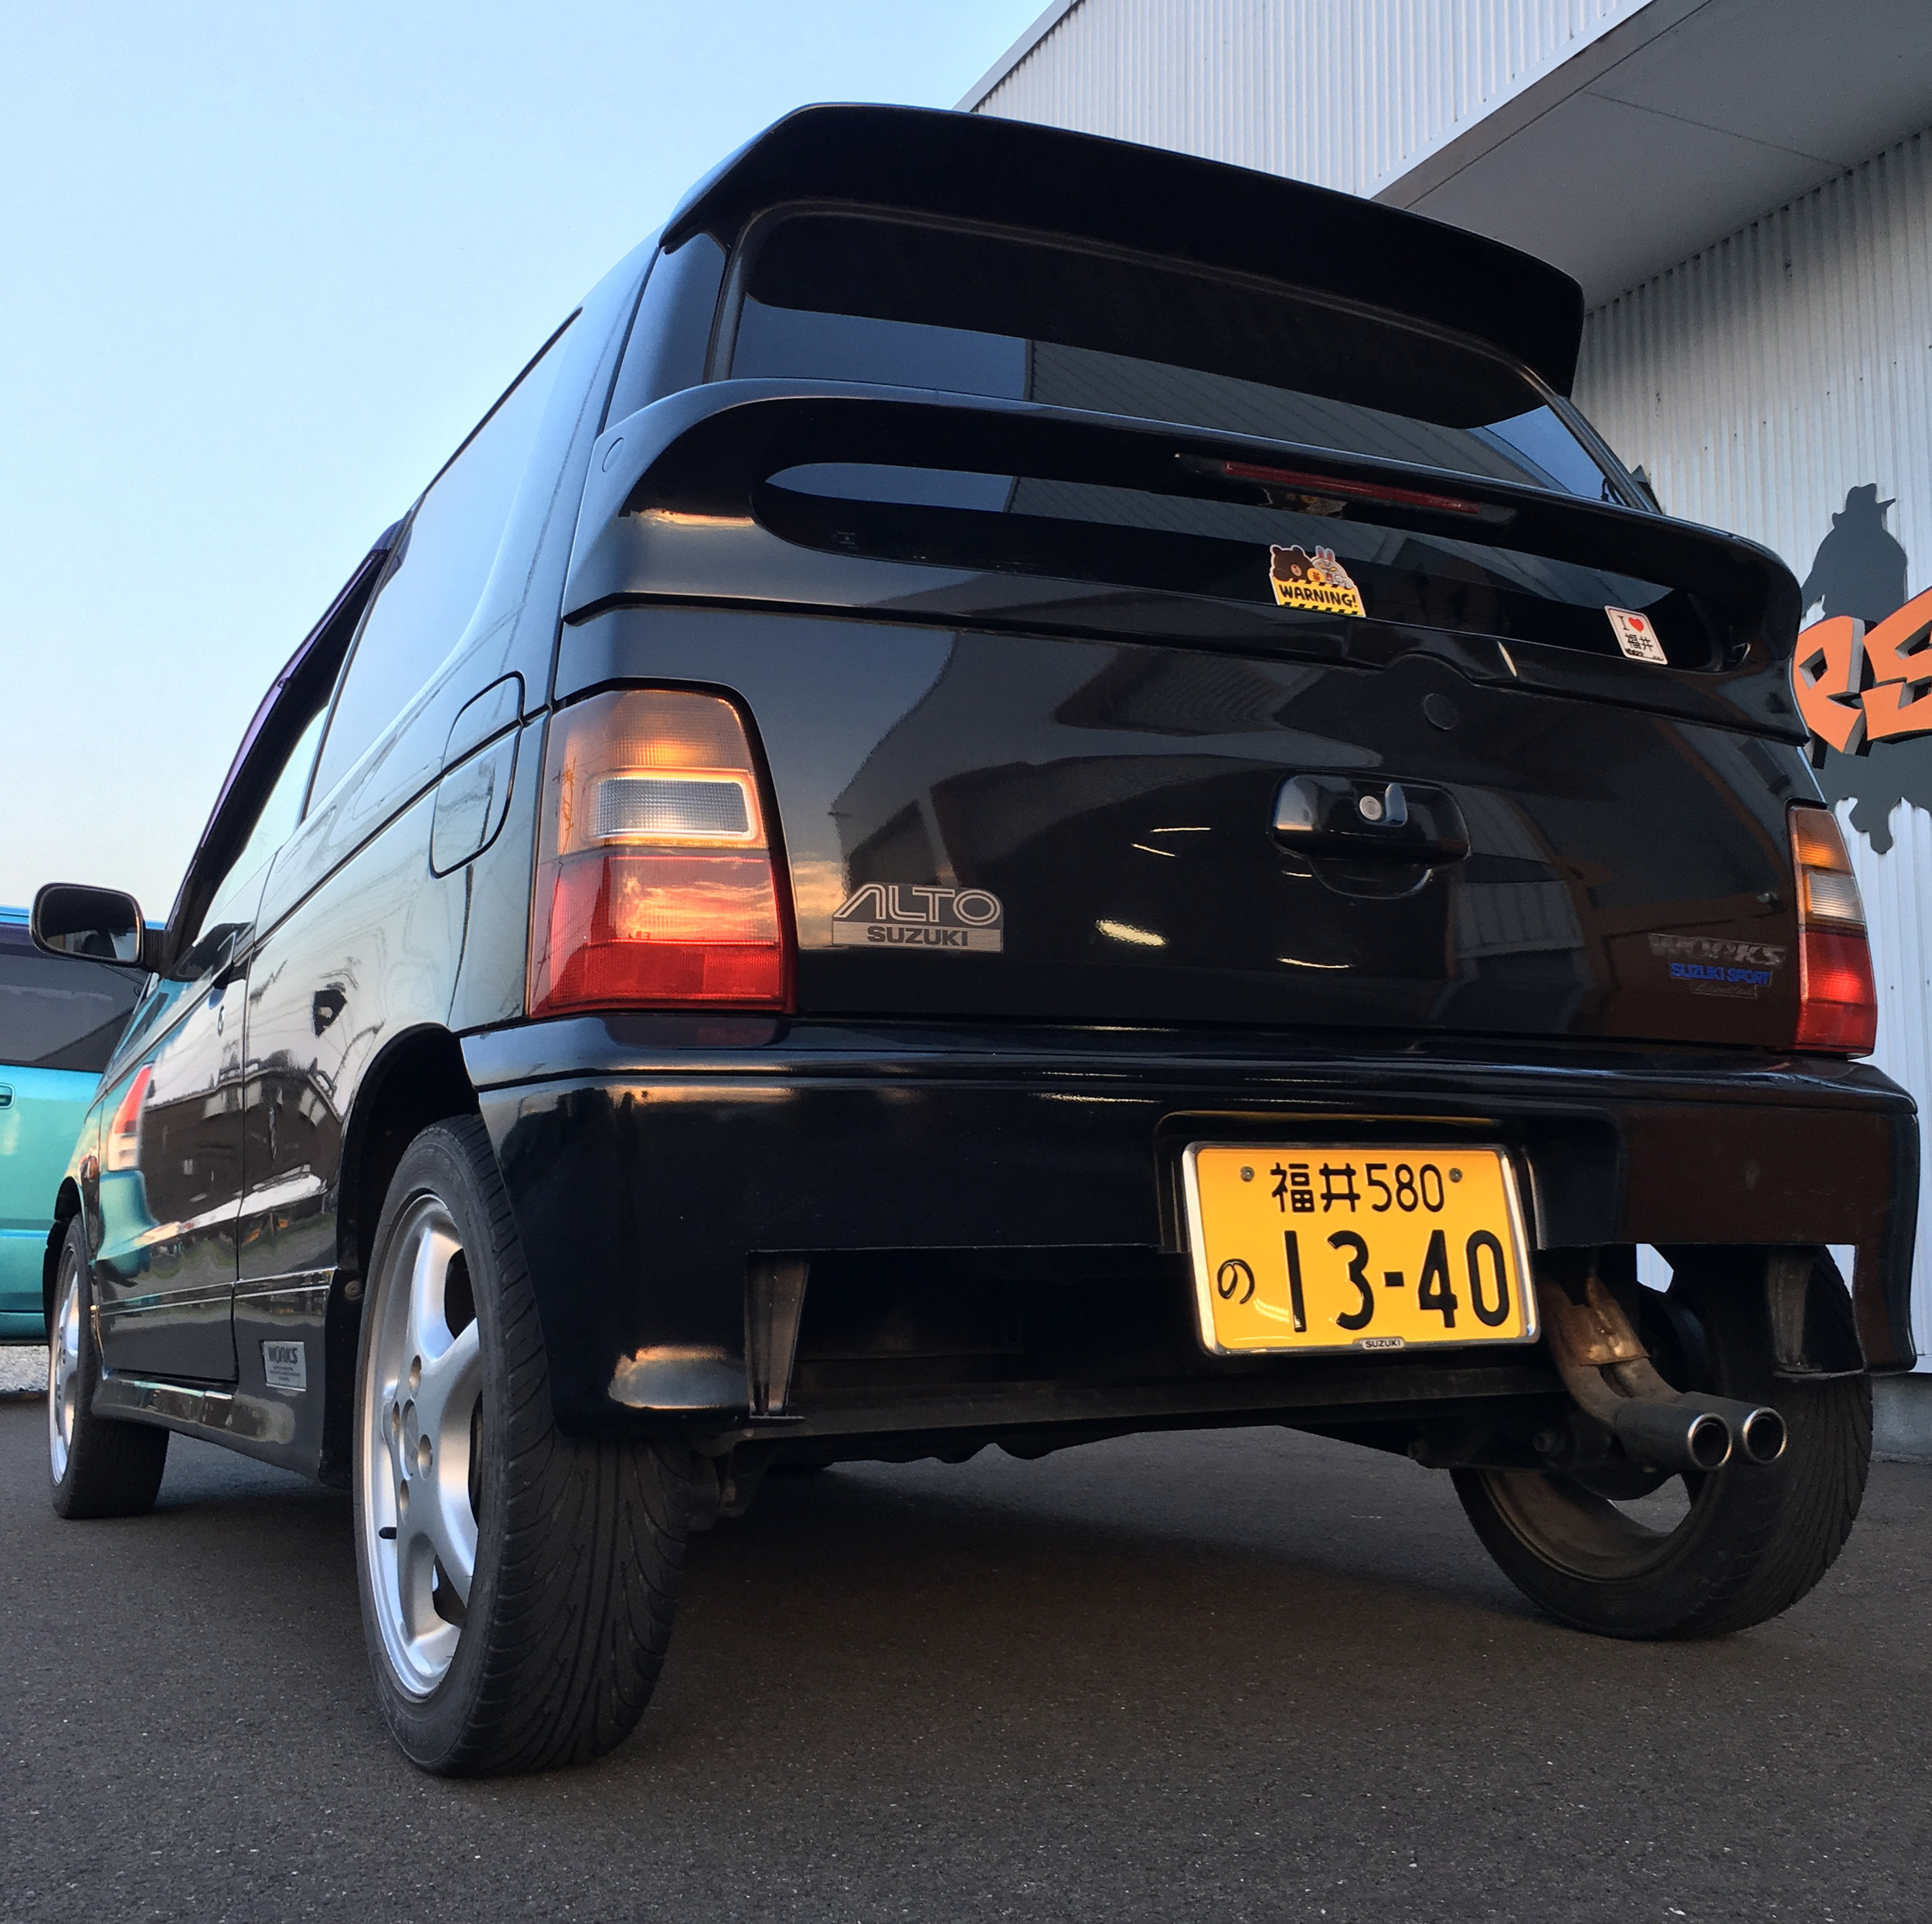
Here, the improvement is more than simply a need to look cool. As previously mentioned, the rear bumper has two slots to evacuate underbody air pressure and to prevent “parachuting.” Essentially, this means air passing under the car can get trapped in little pockets toward the rear, creating a higher pressure zone and adding drag. However, it isn’t executed perfectly on this Alto. Looking at the rear bumper, I can still see huge flatspot areas where air can get caught and raise pressures.
That’s why all modern sports cars and even many pedestrian fuel-economy-focused cars like the Prius have a high rear bumpers and smooth underbodies, among other things. Take a look at even the common Toyota Camry or Honda Civic and you can spot such changes over their much older models. The styling of 1990s and older cars tend to have low rear bumpers with low rear skirts. While this might have looked great at the time, that look definitely does not lend itself well to fuel economy or high-speed driving.
Inspired by a common modification in the Civic and Miata worlds and from various modified cars on Minkara (a Japanese car site), I decided to modify my Alto Works rear bumper in the same manner as I modified my Roadster. By cutting out the lower portion of the rear plastic bumper, it can help eliminate potential drag, allowing air to escape smoothly. This is probably an effect that will only be beneficial at high speeds, but I think it also makes the rear look a lot more aggressive, since it shows some of the rear underpinnings of the car.
Granted, having a rear diffuser also would greatly improve aerodynamics. A well-designed diffuser would allow pressure from under the car to escape smoothly and draw air away, creating a vacuum effect. A diffuser works best when they are at least a certain size, angle, and distance away from the rear, not to mention in conjunction with a flat underbody. Unfortunately, the Alto was not designed in such a manner and this all can be impractical for a street car. Road debris, bumps and dips, and parking blocks are all enemies to a diffuser that juts out the rear.
Removing the rear bumper on this car is an easy task, but it actually has quite a few screws, with three 10mm bolts, two license plate screws, two side screws, and two lower screws holding it on. Both of the lower bumper screws connecting it to this bracket promptly broke off, despite a little break-free spray. I’ll have to fix this later. From here, it is a matter of simply measuring about a thousand times and cutting once.
The cutting wheel cut smoothly into the bumper even easier than it had for the front bumper. I just had to make sure to use a steady hand across the long line. Cutting burrs can be fixed later with a razor and files, but a wrong angle would be painful to correct, especially considering the length of the line across the rear.
After a bit of minor filing, I think it came out well, if I say so myself. The line is fairly clean. I just need to touch up with black a bit and it will be finished.
As much as I want a lower diffuser, it will have to come much later. It will definitely be in the Works.


