[ Alto Works ] Front Chin Lip Spoiler, Part 2 (Front Bumper Modification, Part 3B)
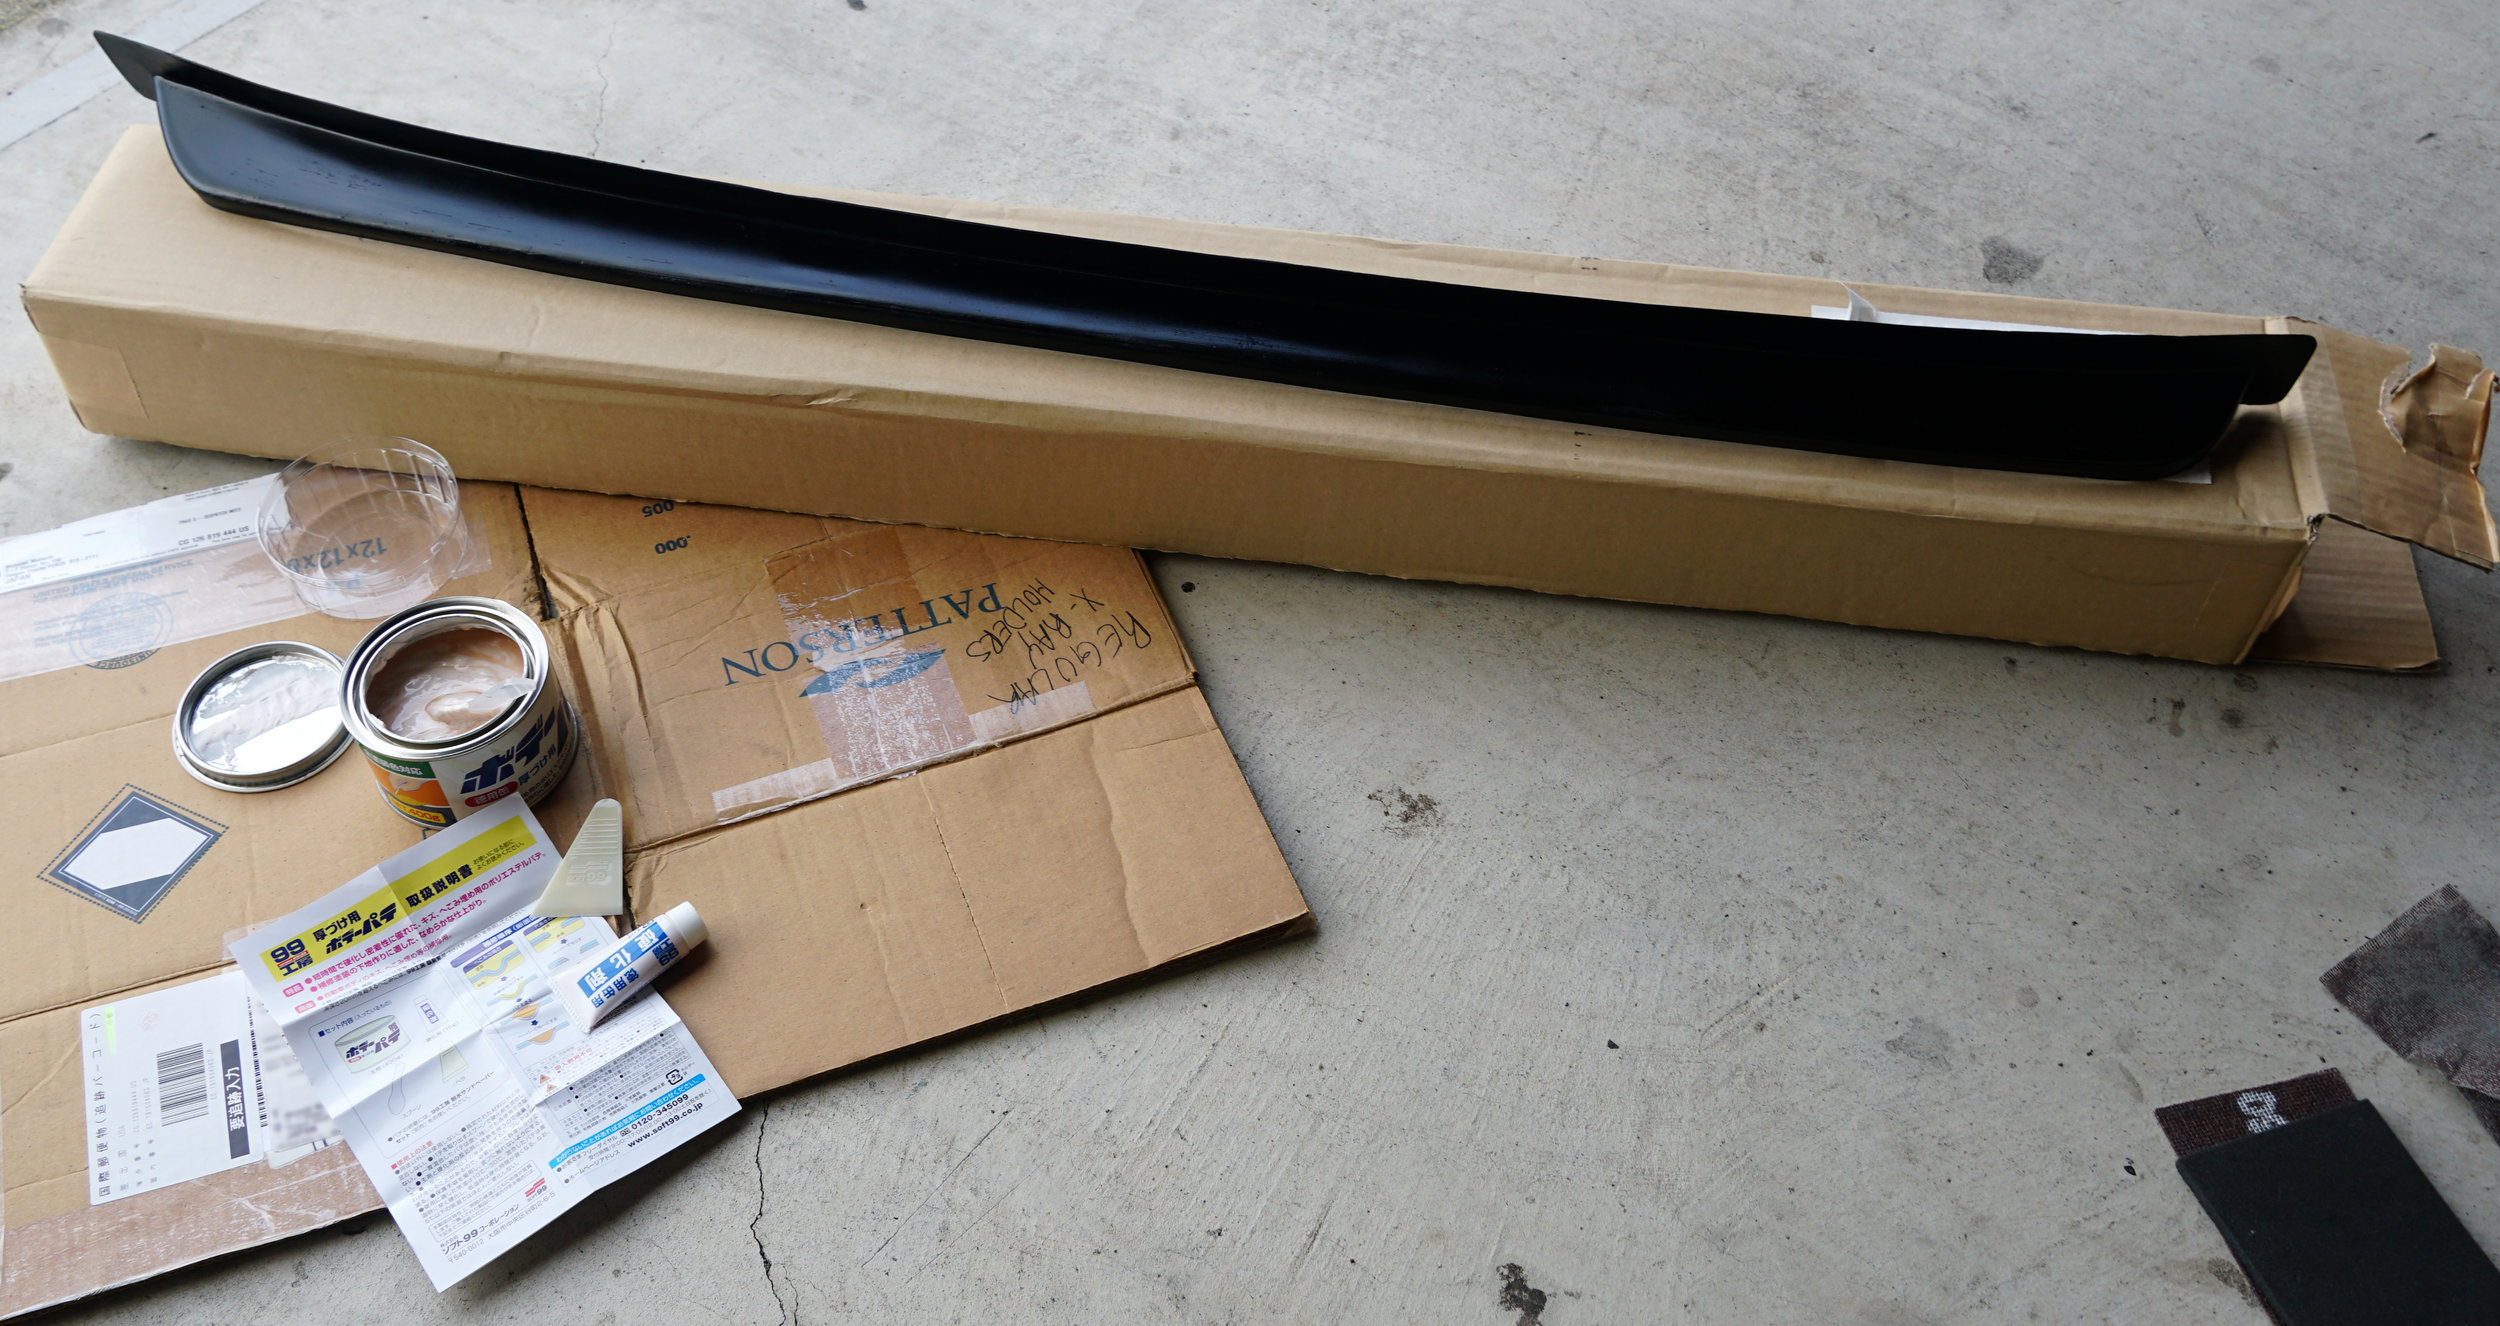
After one coat of black paint to at least hide the white FRP backing, I set out to refinish the lip. Unfortunately, FRP is a material that requires a bit of care if you want good results and, most importantly, to be safe.
(This is one of the few times I have ever worked on FRP, so I don’t know much about what I’m doing. Please forgive my process if it is not up to par and feel free to comment below.)
Fiber-Reinforced Plastic, especially found on aftermarket automobile parts, is a plastic compound mixed with glass fibers to increase rigidity and durability. It is arguably lighter and stiffer structurally than than ABS parts, but the stiffness of FRP often results in cracks when a strong impact to the plastic is applied. The finished results are also very rough, requiring a lot of labor-intensive work for the end user or installer since the finish is so crude. But since these parts are so much cheaper and easier to make, most aftermarket parts are made of this material.
Worse yet, the biggest issue working with fiberglass is safety. Since glass fibers are so light, thin, and nearly microscopic, they often can be breathed in and cause irritation of the lungs. Even the slightest bit of loose fiberglass on the skin can cause irritation that lasts for days. Working with FRP necessitates proper breathing apparatus, eye protection, and skin protection.
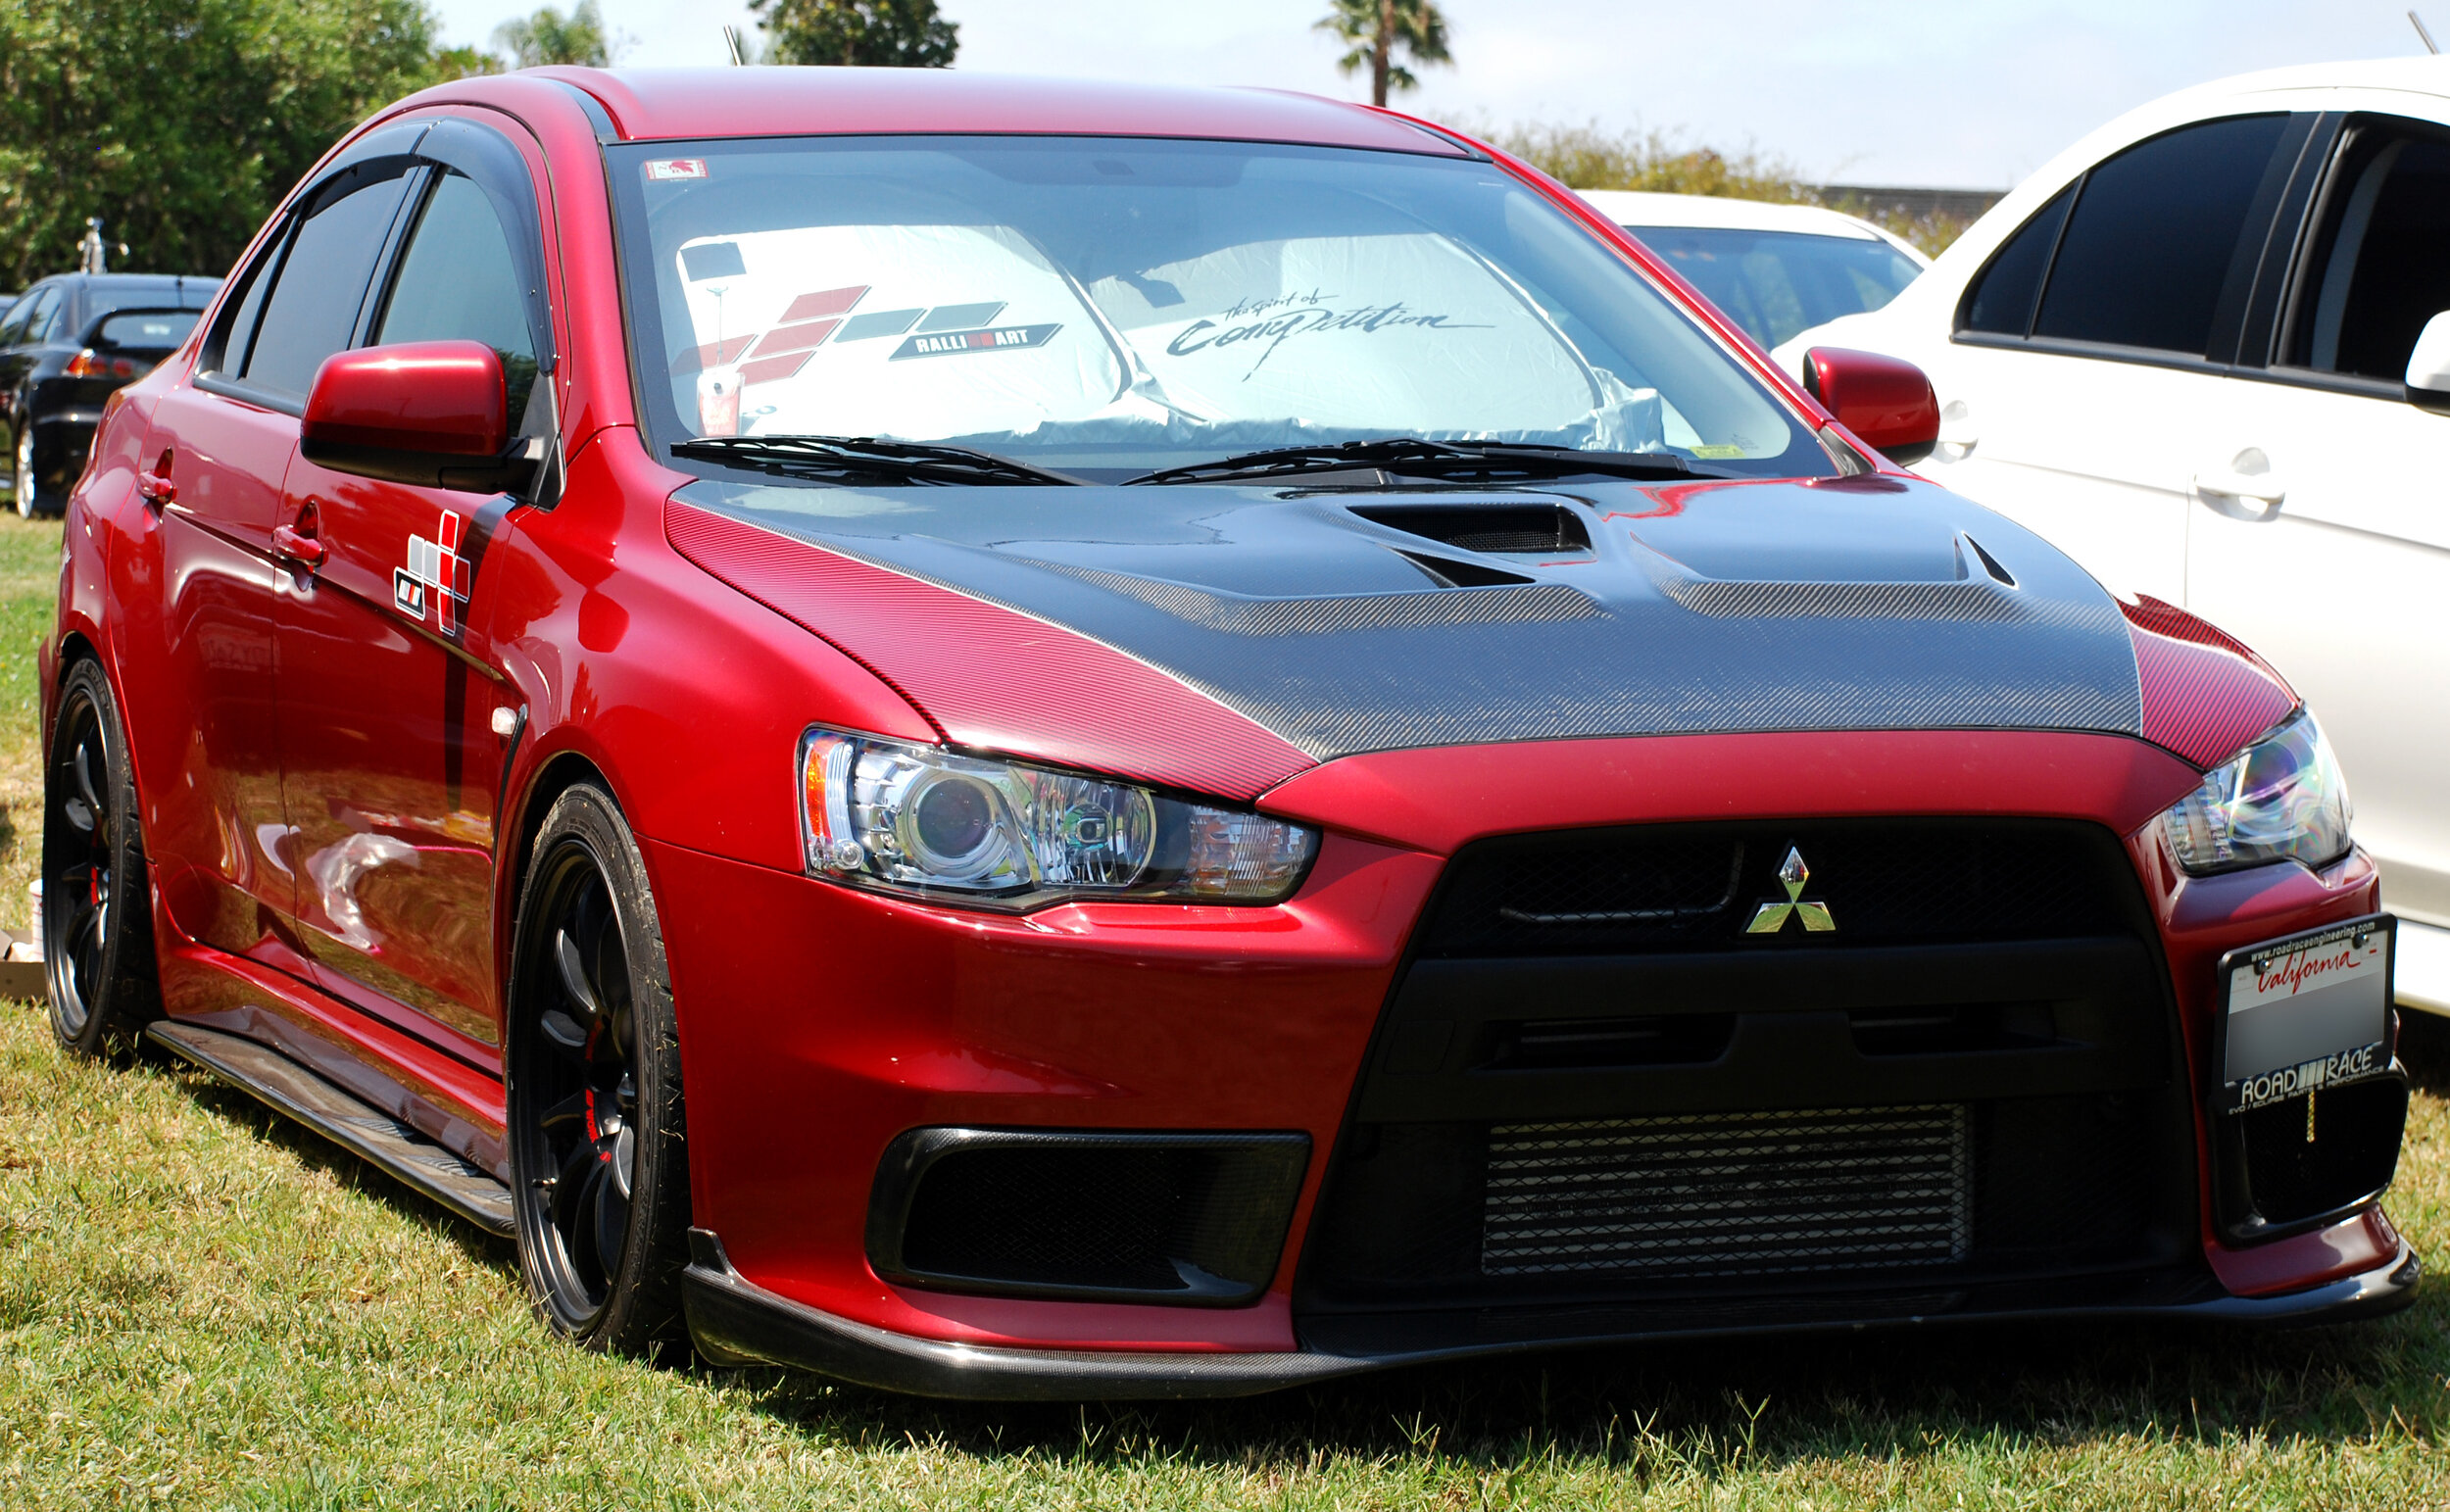
A few years ago, I installed a carbon fiber Ralliart lip onto my Evo which required some drilling and modification to fit properly. Thankfully, I was used to working with the minimum protection of eyewear and some light gloves, but at that time I was woefully unaware of the caution necessary with working on fibrous materials. This resulted in my arms having a nice itchy, stinging feeling for a few days afterwards. Hopefully I didn’t breathe in too much of the crap.
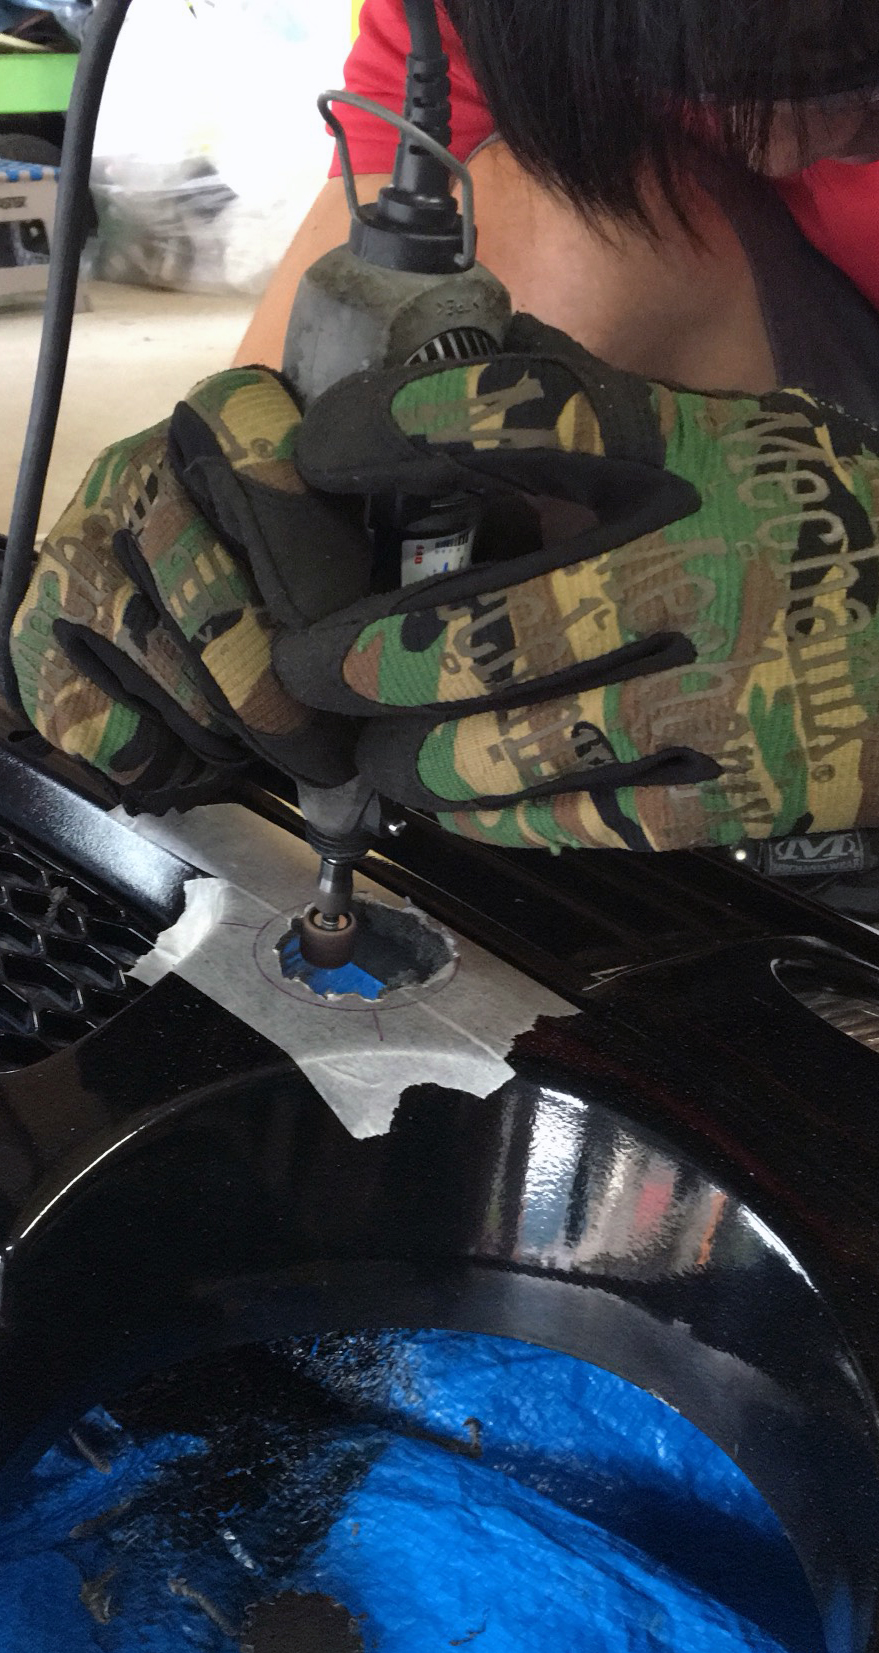
For this spoiler, I will not need to do significant work or modifications other than some light sanding and hole drilling for mounting, but I do have all the necessary protection. I picked up this 3M P100 Particulate Mask, fully-sealed AOSafety goggles, and 3M full suit awhile ago for use on exactly these type of projects. I first used the mask and goggles on my hood vent cuts, though I have yet to use the full suit.
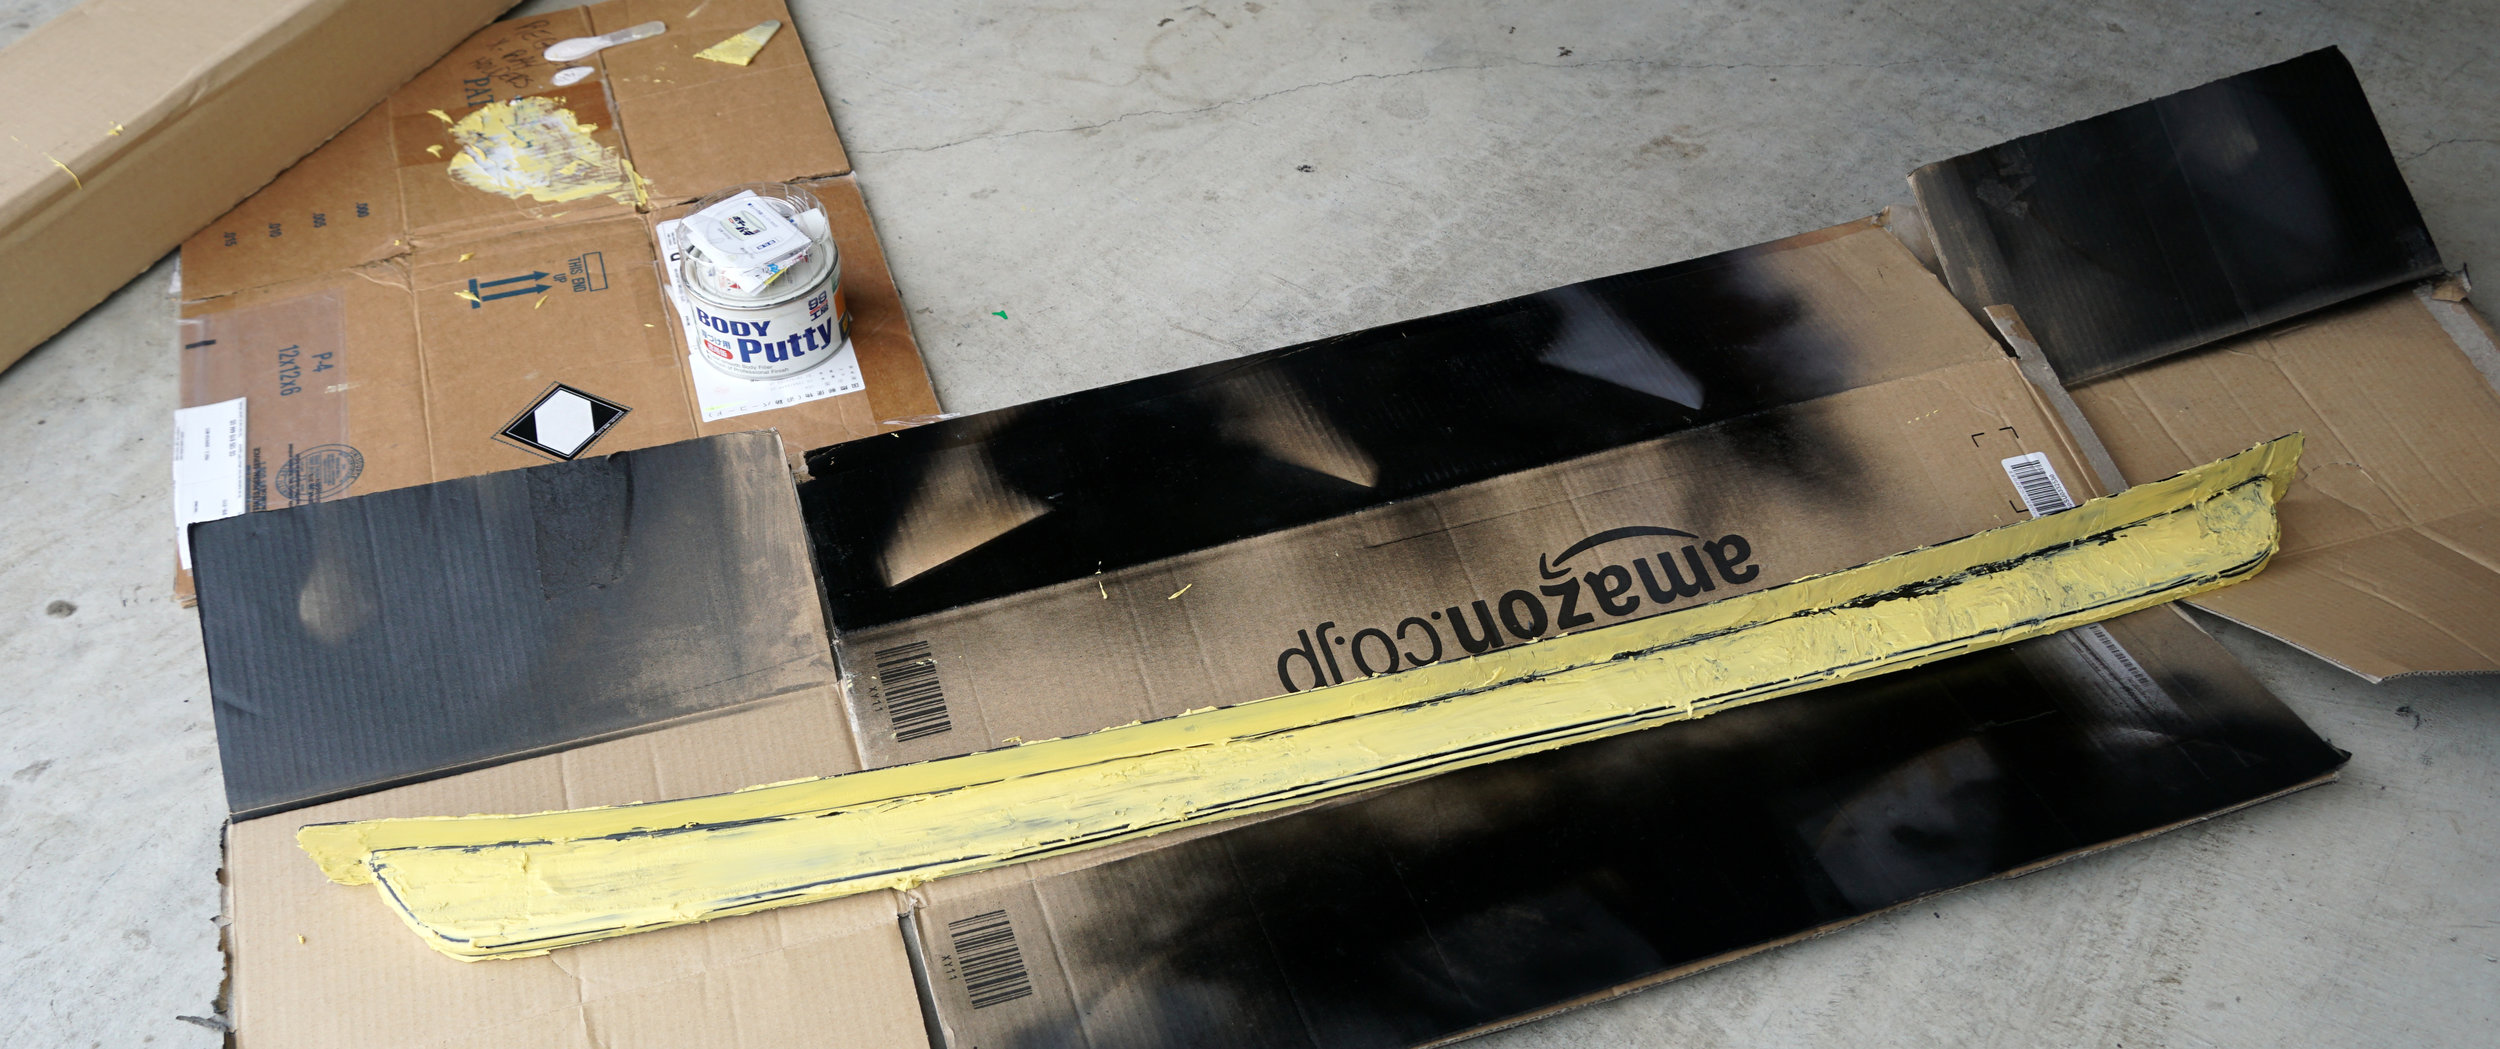
For surface finishing, I was recommended this Soft99 Fine Filler off Amazon for 1432¥ ($13 USD). It comes with epoxy hardener to cure the putty to touch in about half an hour when mixed properly. It mixes easily and went on pretty smooth, like a creamy peanut butter spread. This made working with it much easier than I had expected.
Once the lip had plenty of time to cure (and the fact I didn’t have time til a week later to continue), I could start to sand down the whole lip.
Even though I don’t need it absolutely perfect, I did my best to make sure it would look good if anyone were to inspect it fairly closely. The putty was extremely easy to sand down and even the yellow color made it easy to see where I needed to continue to refinish.
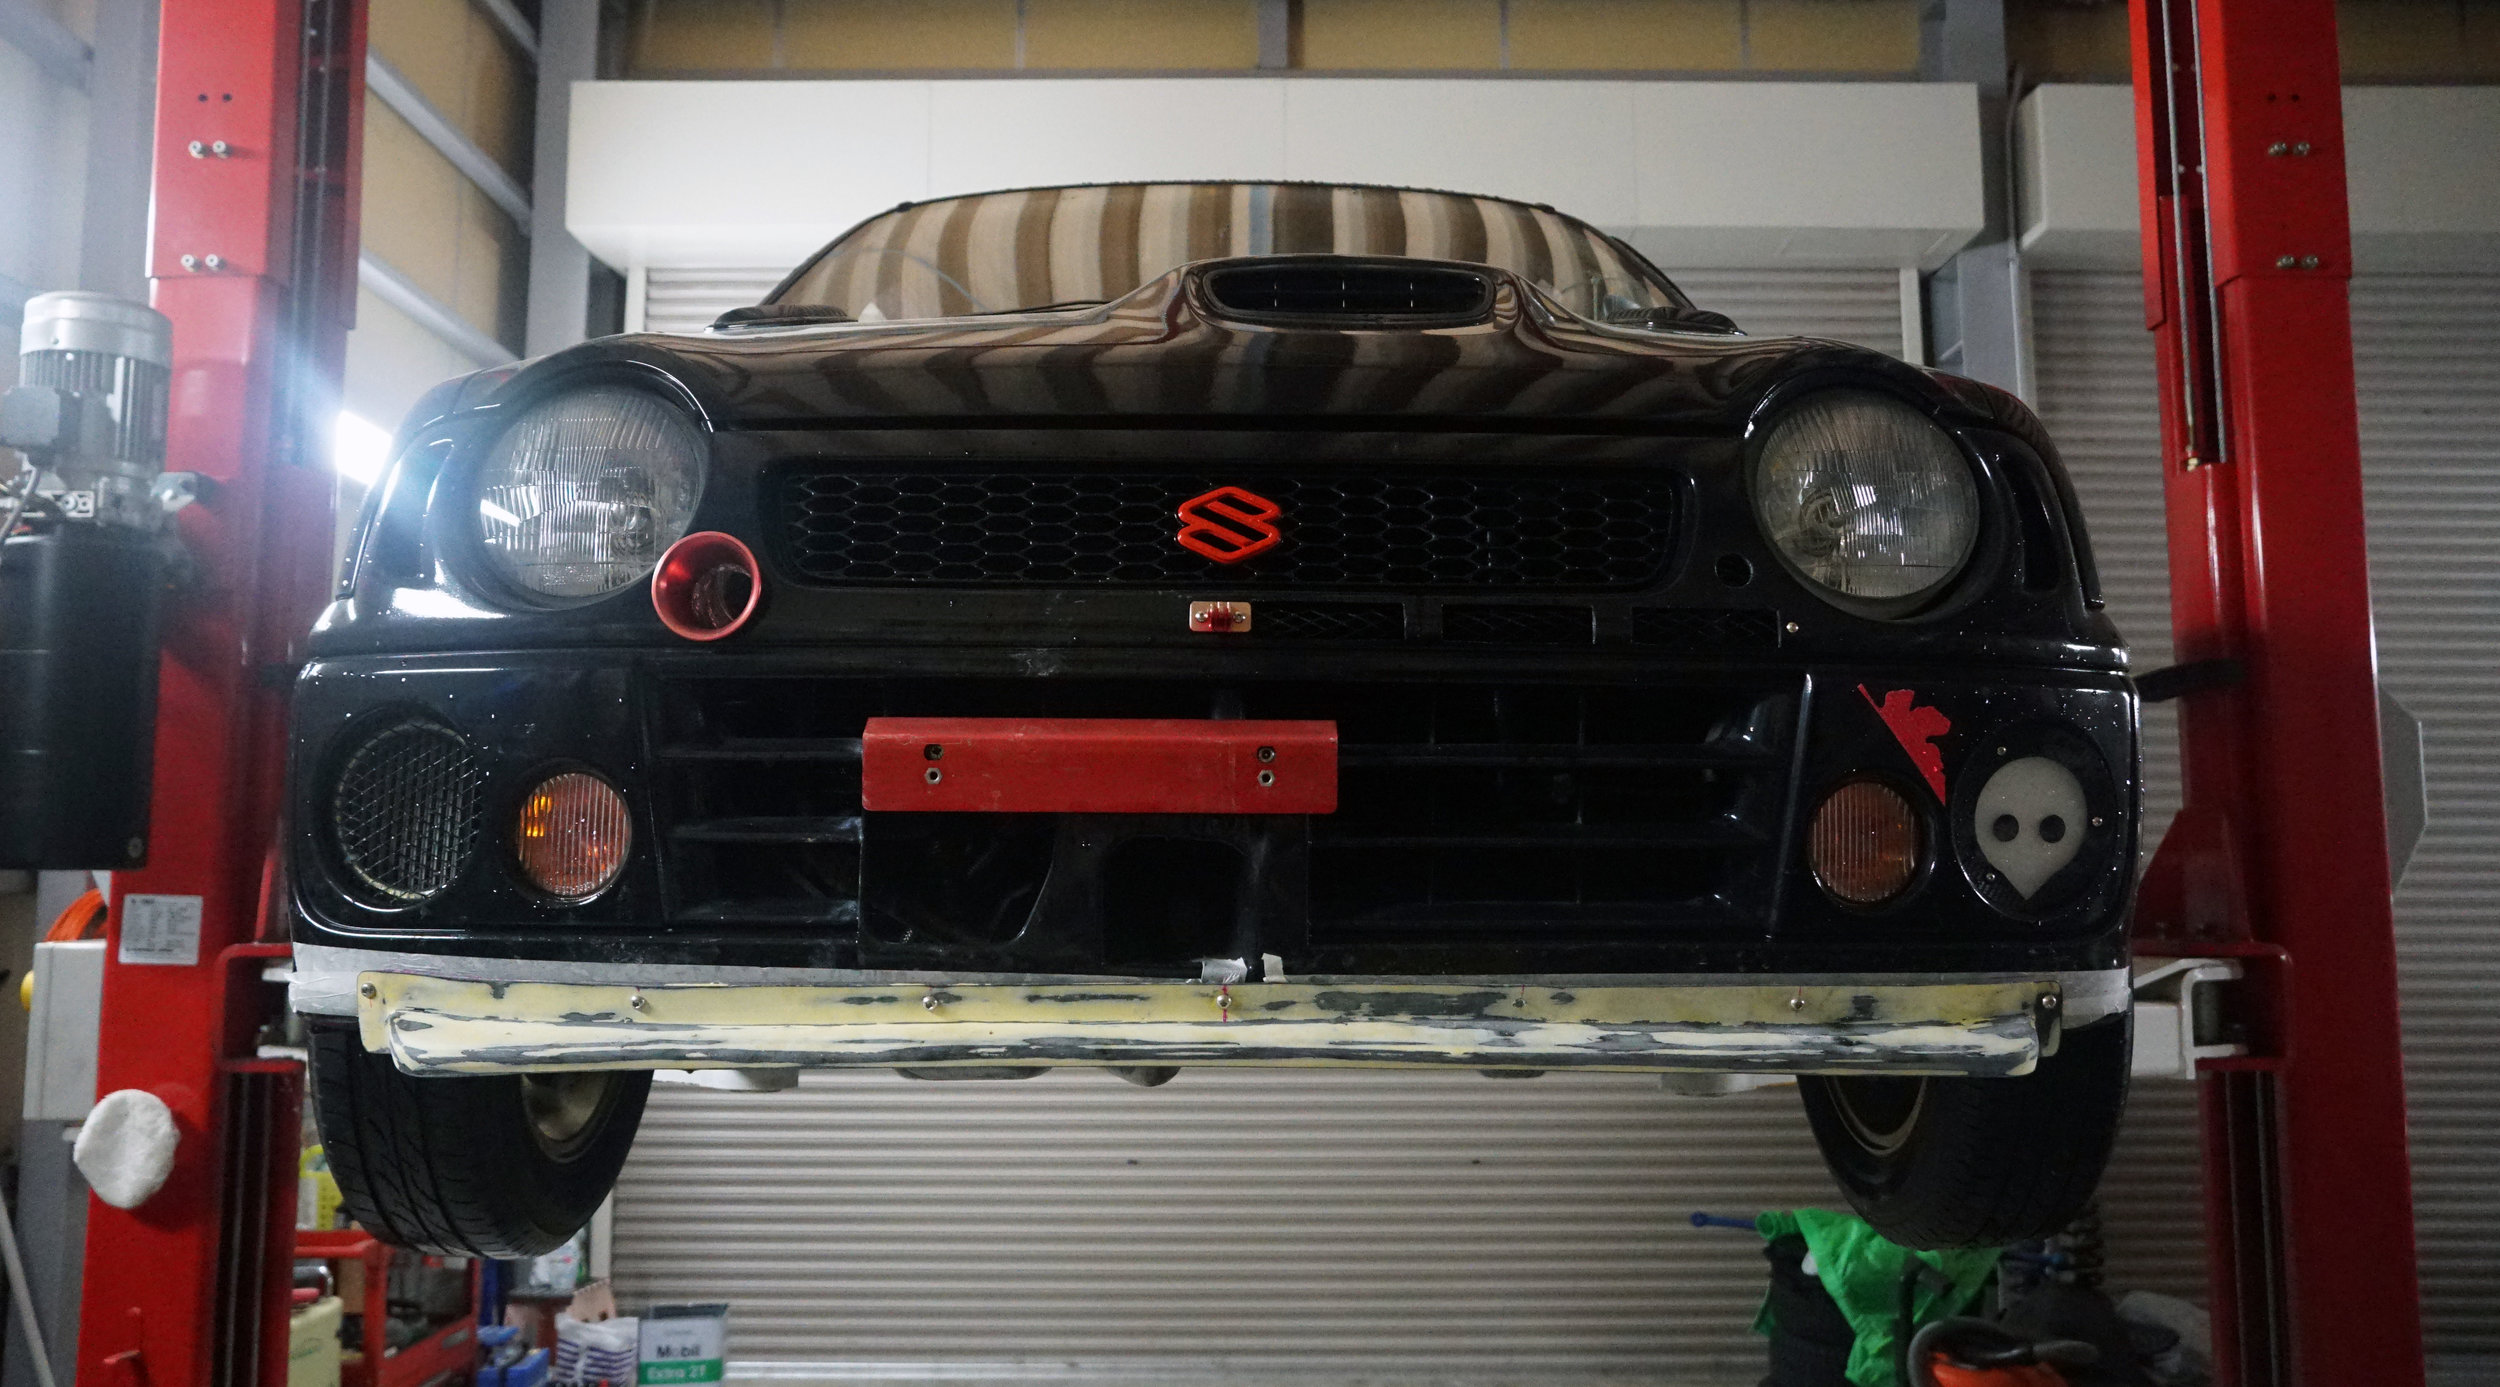
Once it came time to get to mounting, I had a few decisions to make regarding where exactly to mount the lip. While I would like the flat backing to be flush up against the lower front bumper, there was a few issues. First of all, it would actually end up raising the forward angle of the lip a bit based on the taper. In addition, while you can’t actually see it, the rear backside of the bumper only has some areas where a bolt could potentially mount. Lastly, I wanted the lip to be as low as possible, since the oil cooler I installed a while back is actually lower by a few centimeters than the bumper. This means if I were to hit a concrete block, for example, it would scrape the lip first rather than the cooler.
I decided to use 7 M6 button head screws, spaced evenly along the backing of the lip. I think this actually looks pretty good. Note one screw has not been installed because drilling it could potentially damage one of the air conditioner hoses so it will wait until the bumper comes off during final install
I am seriously getting annoyed at all these rainy weekends. Weekend after weekend have almost all been rainy, leading up to Hagibis, Typhoon Number 19, hitting Japan on a three-day weekend in mid-October. Can I even get the lip painted before the winter sets in?
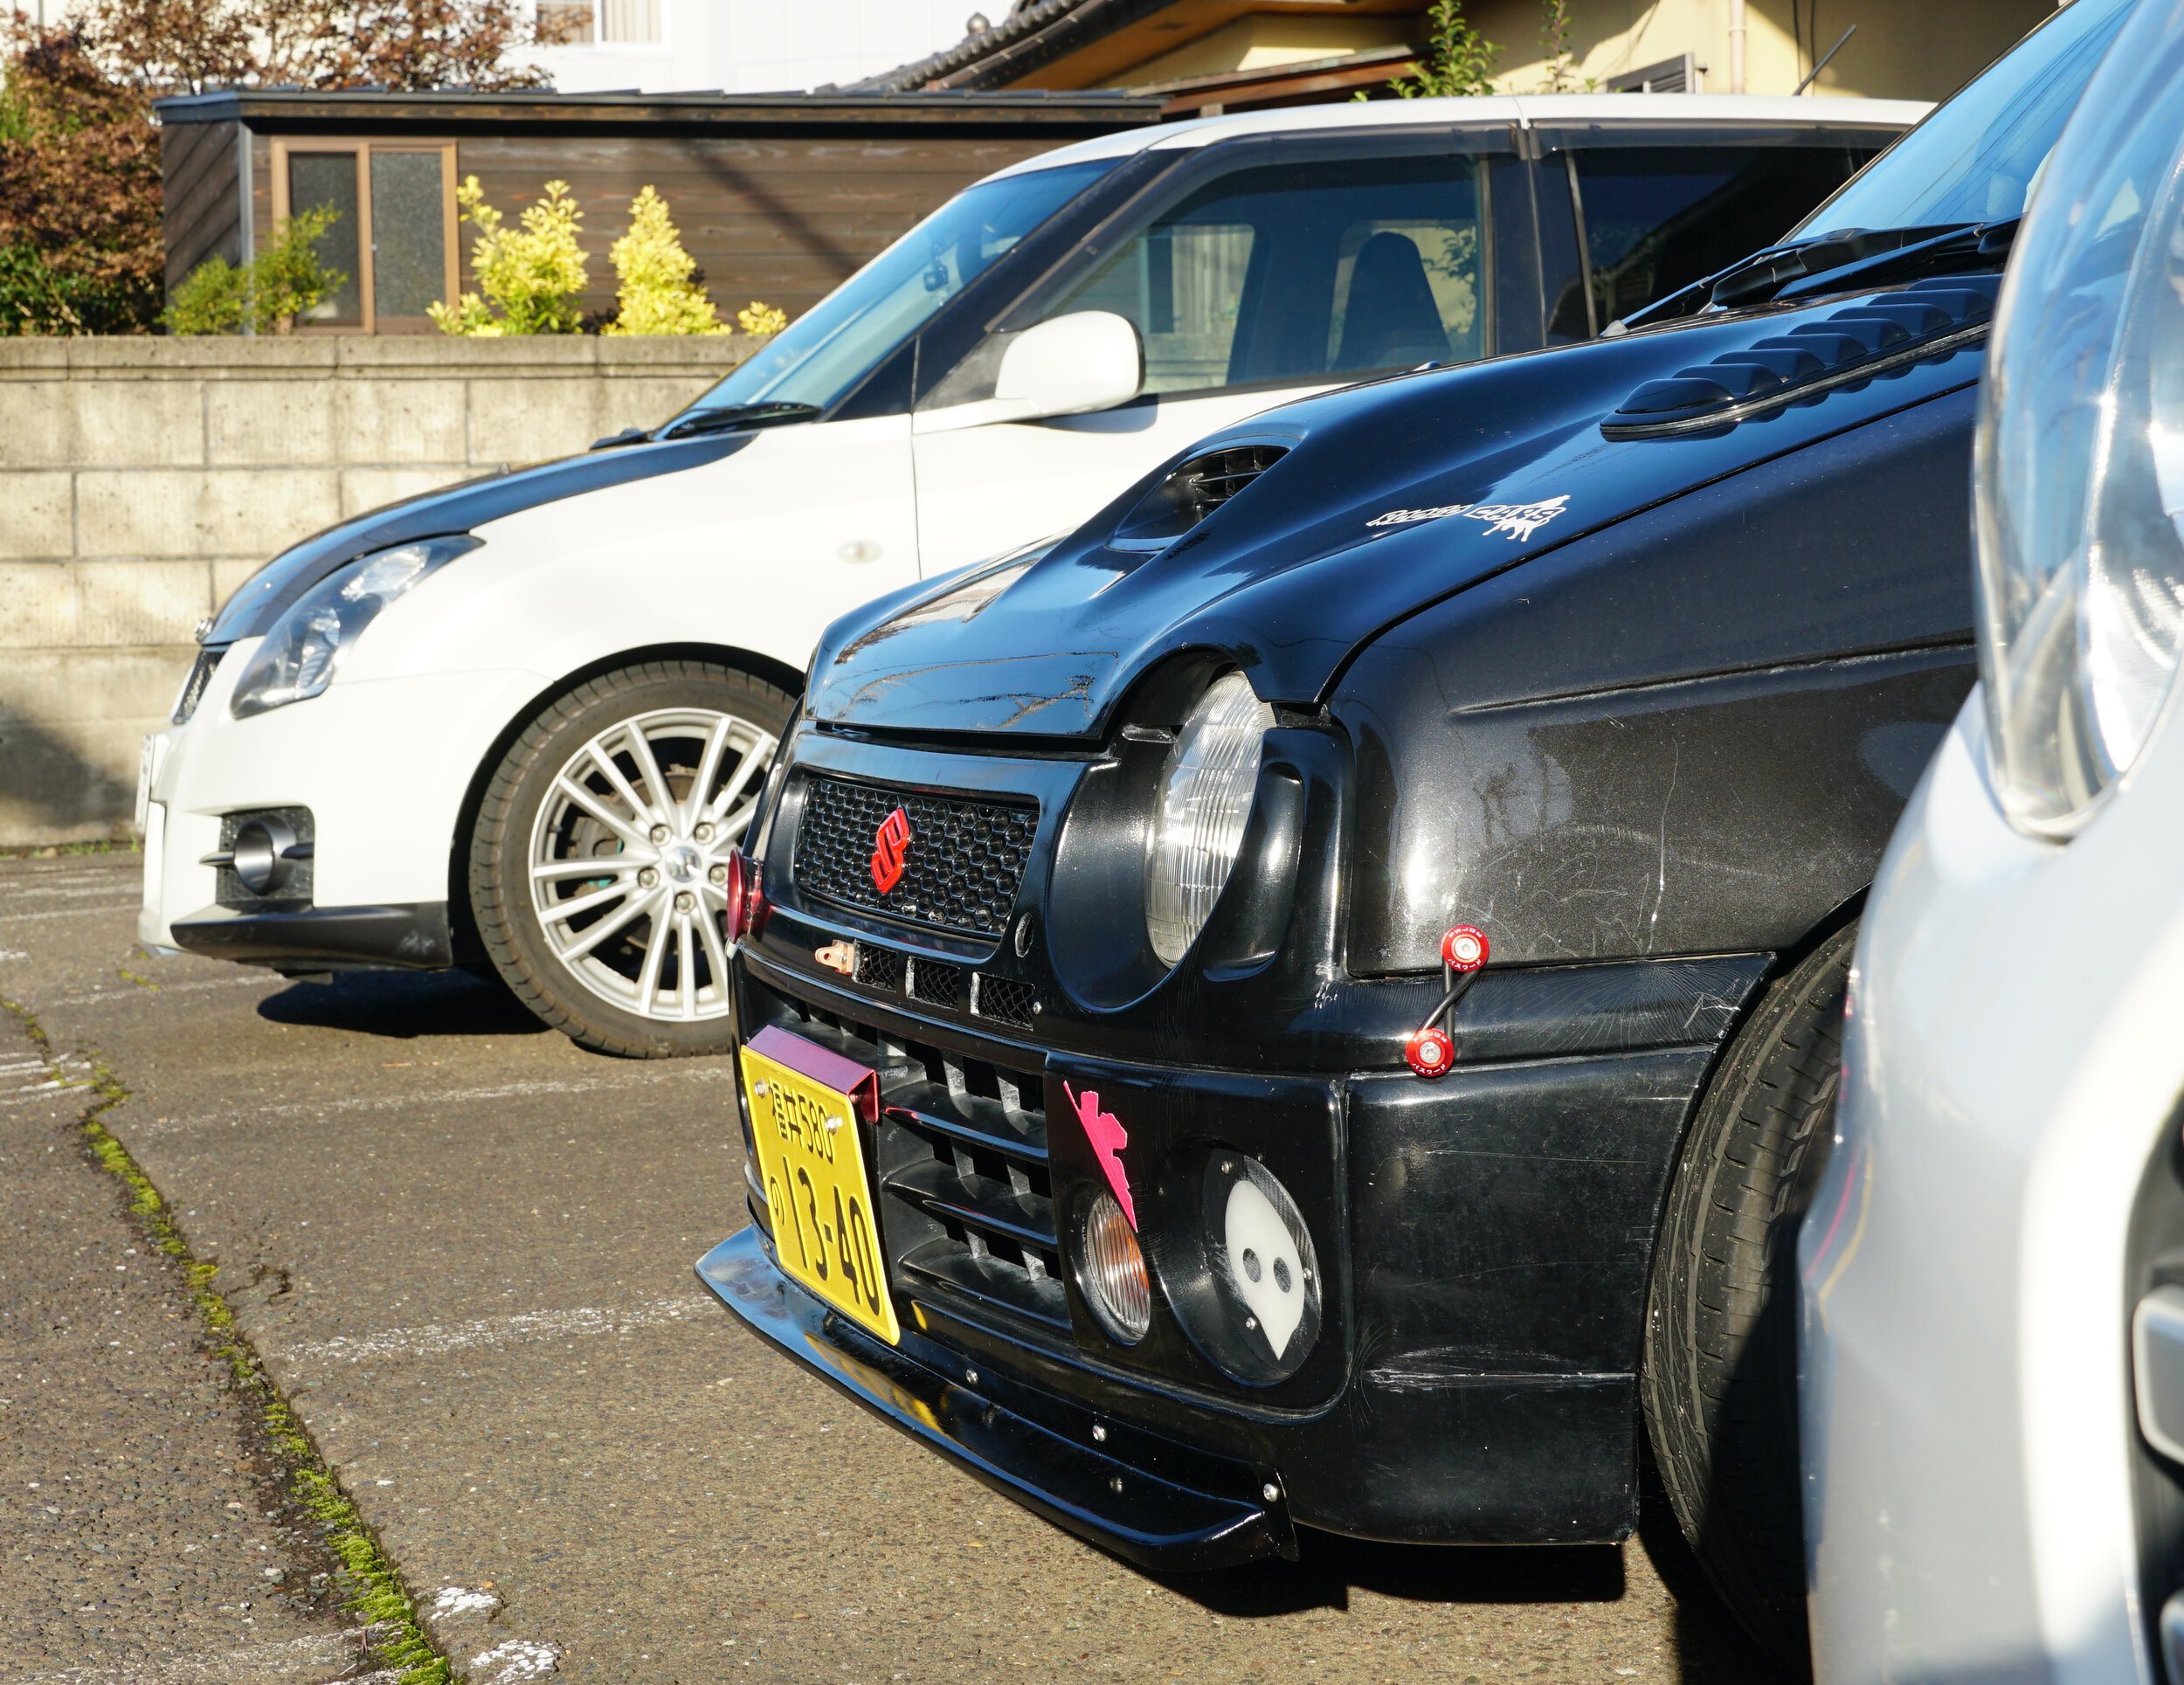
Finally, the drier fall has set in Japan and I found some good timing to put on the lip, along with a set of LED H4 bulbs to replace the older HIDs I had in it.
I wish I had more time to perfect the finish of the paint, but with the poor, colder weather of late, I thought this would be good enough for this season. Nonetheless, it still looks great from a few feet away!
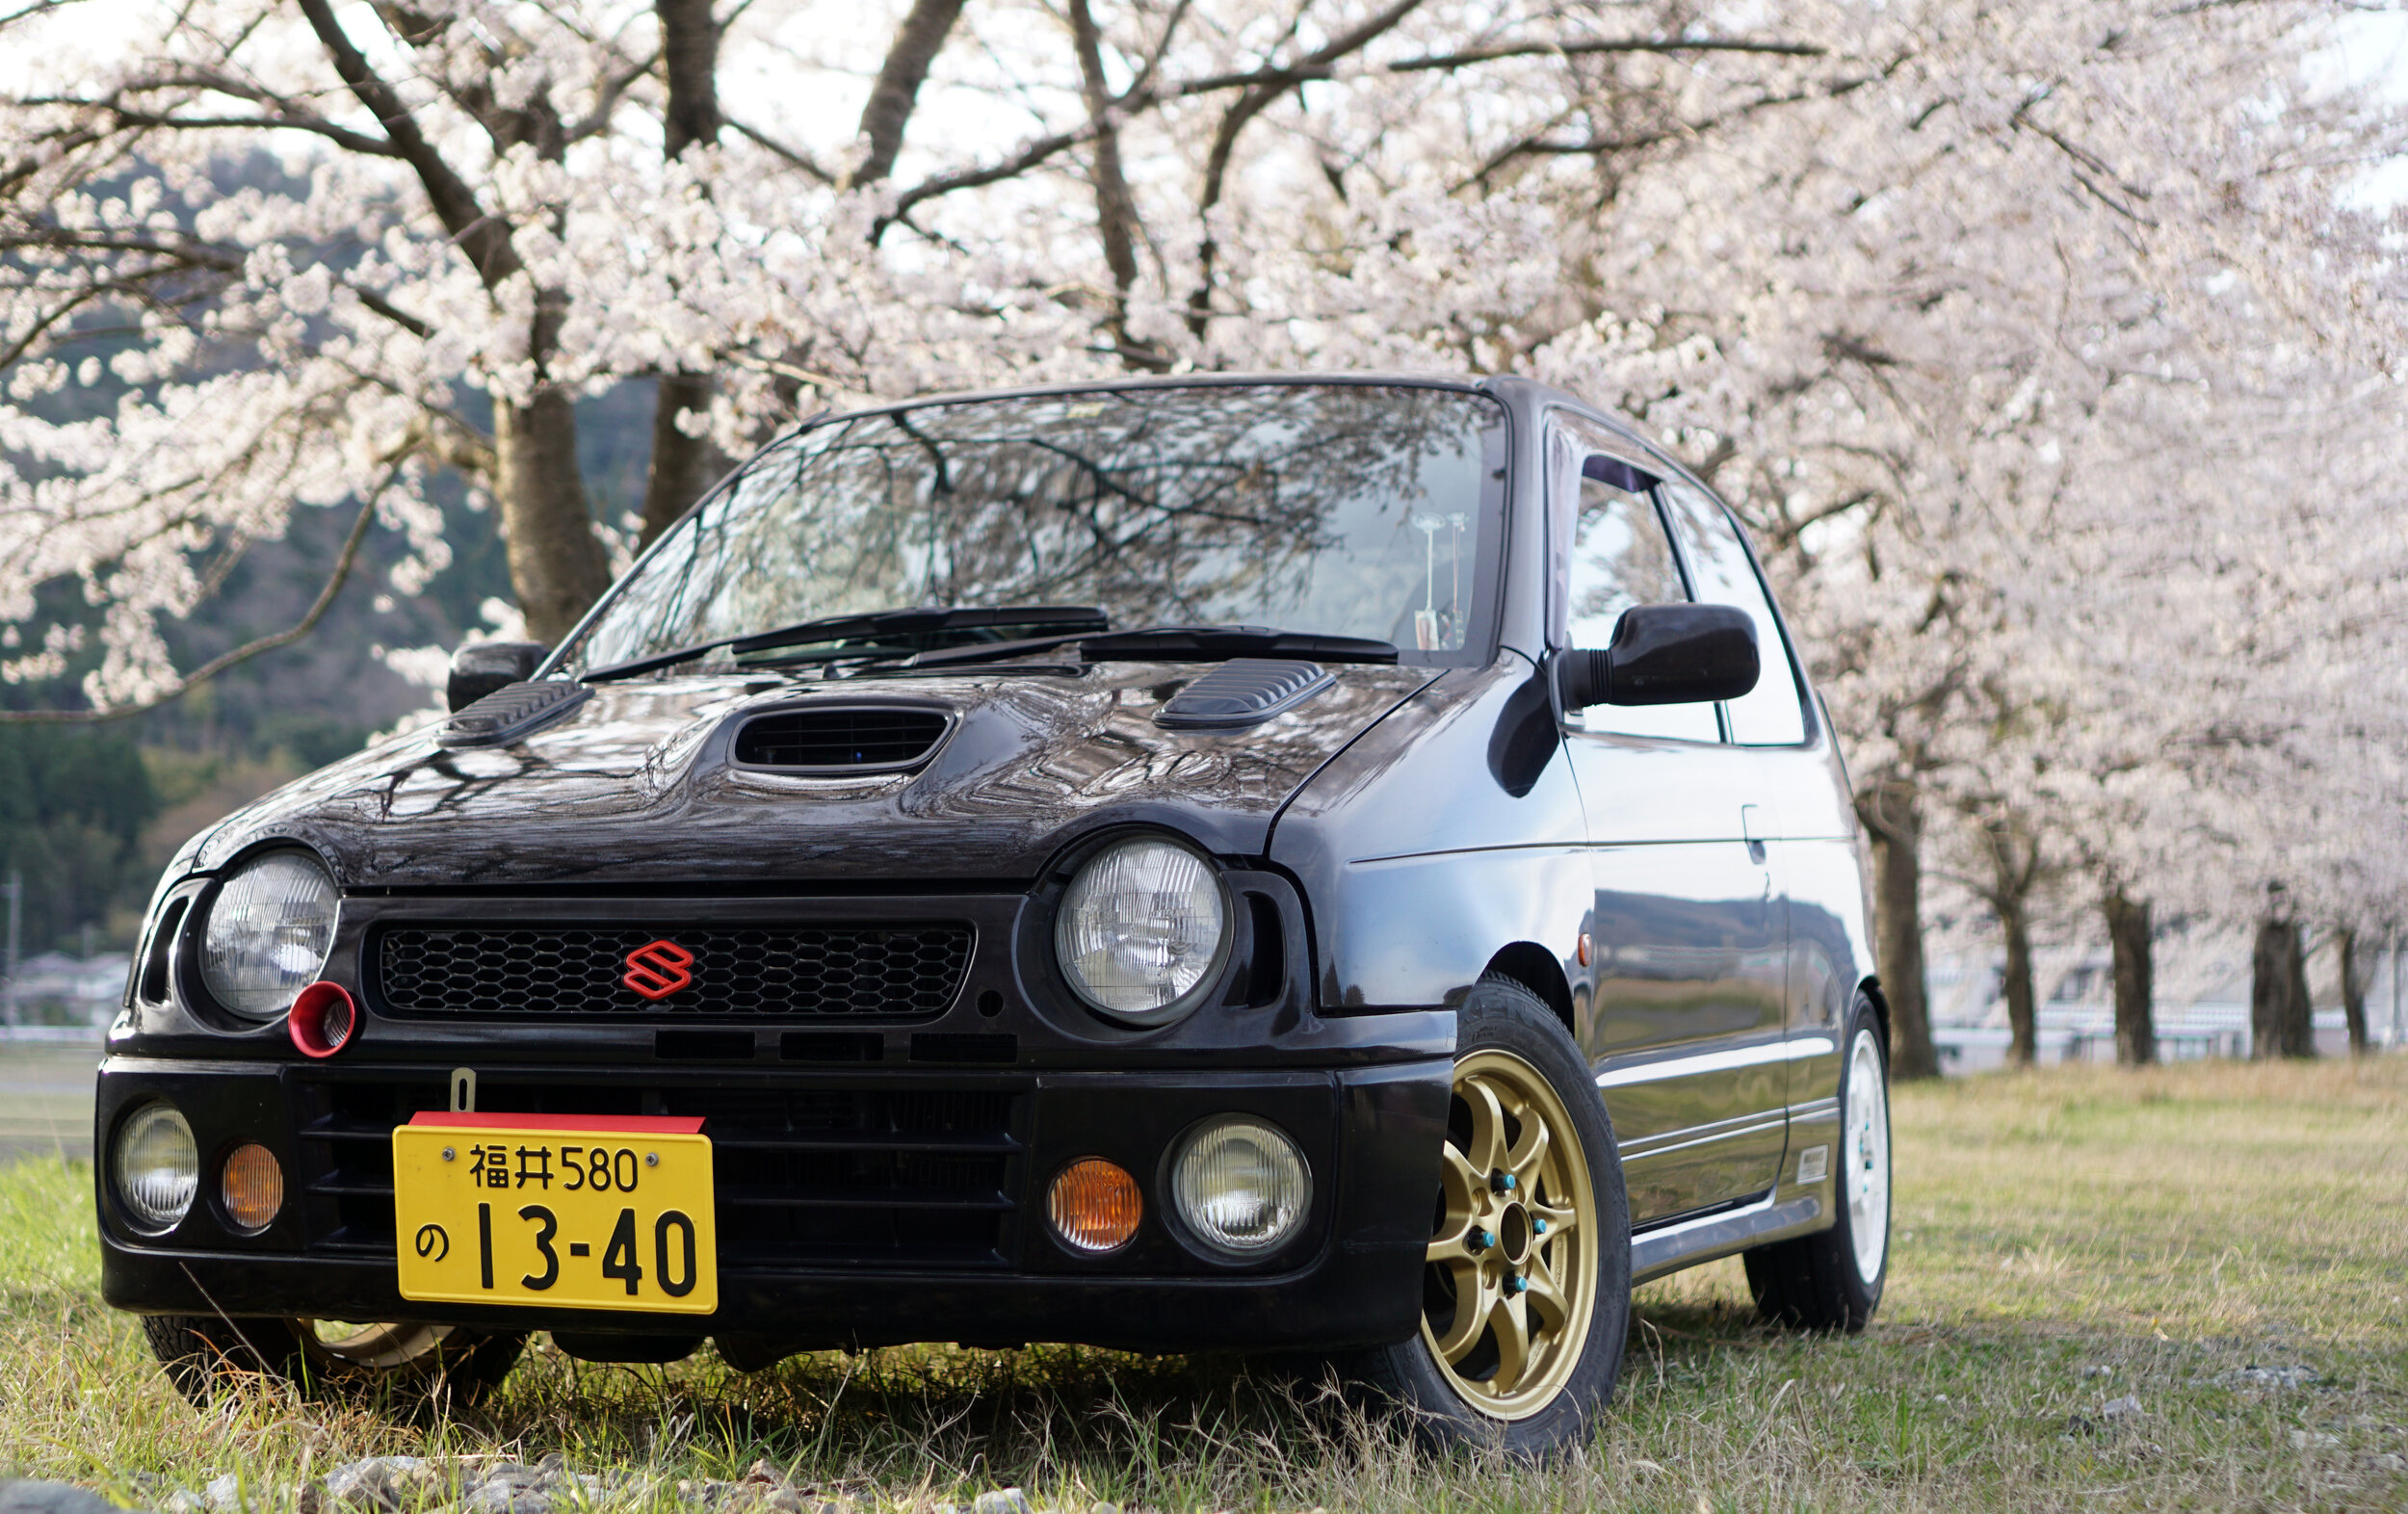
The lip is small and subtle, but definitely adds a lot of character to the front of the car, making it look a bit more aggressive and somehow wider. I am actually quite happy with the placement of the lip and how it looks on the car.
I will admit that if I were to do it all over again, however, I would definitely put on a lip that is much wider and longer. Maybe that could be another project for the future!
