[ Alto Works ] Saito Safety Roll Cage, Part 3
First up, in order to make sure everything lined up and worked before I started drilling in my Alto Works, I wanted to temporarily install the Saito Roll Cage and tighten everything down to ensure fitment. This will allow me to see where the screw holes will need to be drilled with all options installed and ensure no strange play or issues.
Surprisingly, even without bolting it in, the cage is extremely stiff and doesn’t wobble or shake; It is an absolute perfect fit. I didn’t have much time on the first day of my project, so I drove it home like this.
Project time was a bit scattered afterwards, but I resolved to finish as much as I could, whenever I could. Sadly, because the September summers in Japan are always a rainy mess (it has been raining virtually every day for two weeks), I couldn’t repaint my backing plates, which are a must to get things mounted.
But we can drill. After carefully center punching all the holes, I drilled them one-by-one, putting bolts through each time to ensure the bars do not shift around. I then disassembled the whole cage again. I used a rat-tail file to clean off the metal burrs, vacuumed out the interior, and then painted to coat the exposed metal several times with rust preventative paint.
Before the cage goes back in, I need to add foam padding so my body and especially my head have some protection in a crash. The last thing I would want is to strike the bare metal bars in a rollover. Even with padding, I am well aware that it can still be unsafe for a daily car. I ordered these rolls to cover all surfaces, 12m of 4-5mm thick foam for about 7000¥ ($65 USD). While they are adequate, I plan on adding thicker padding for the bars near my head later.
With the cage reassembled outside the car, I first painted the cage where any scrapes, scratches, or surface rust are present, then I wrapped the whole front 4-points of the cage with padding, acetate cloth tape, and zip ties. This ensures that the most likely surfaces passengers may come in contact with are relatively safe. The rear bars I will probably leave exposed as they are, as the chances of accidental contact are minimal. Plus, the aluminum cross brace just plain looks cool.
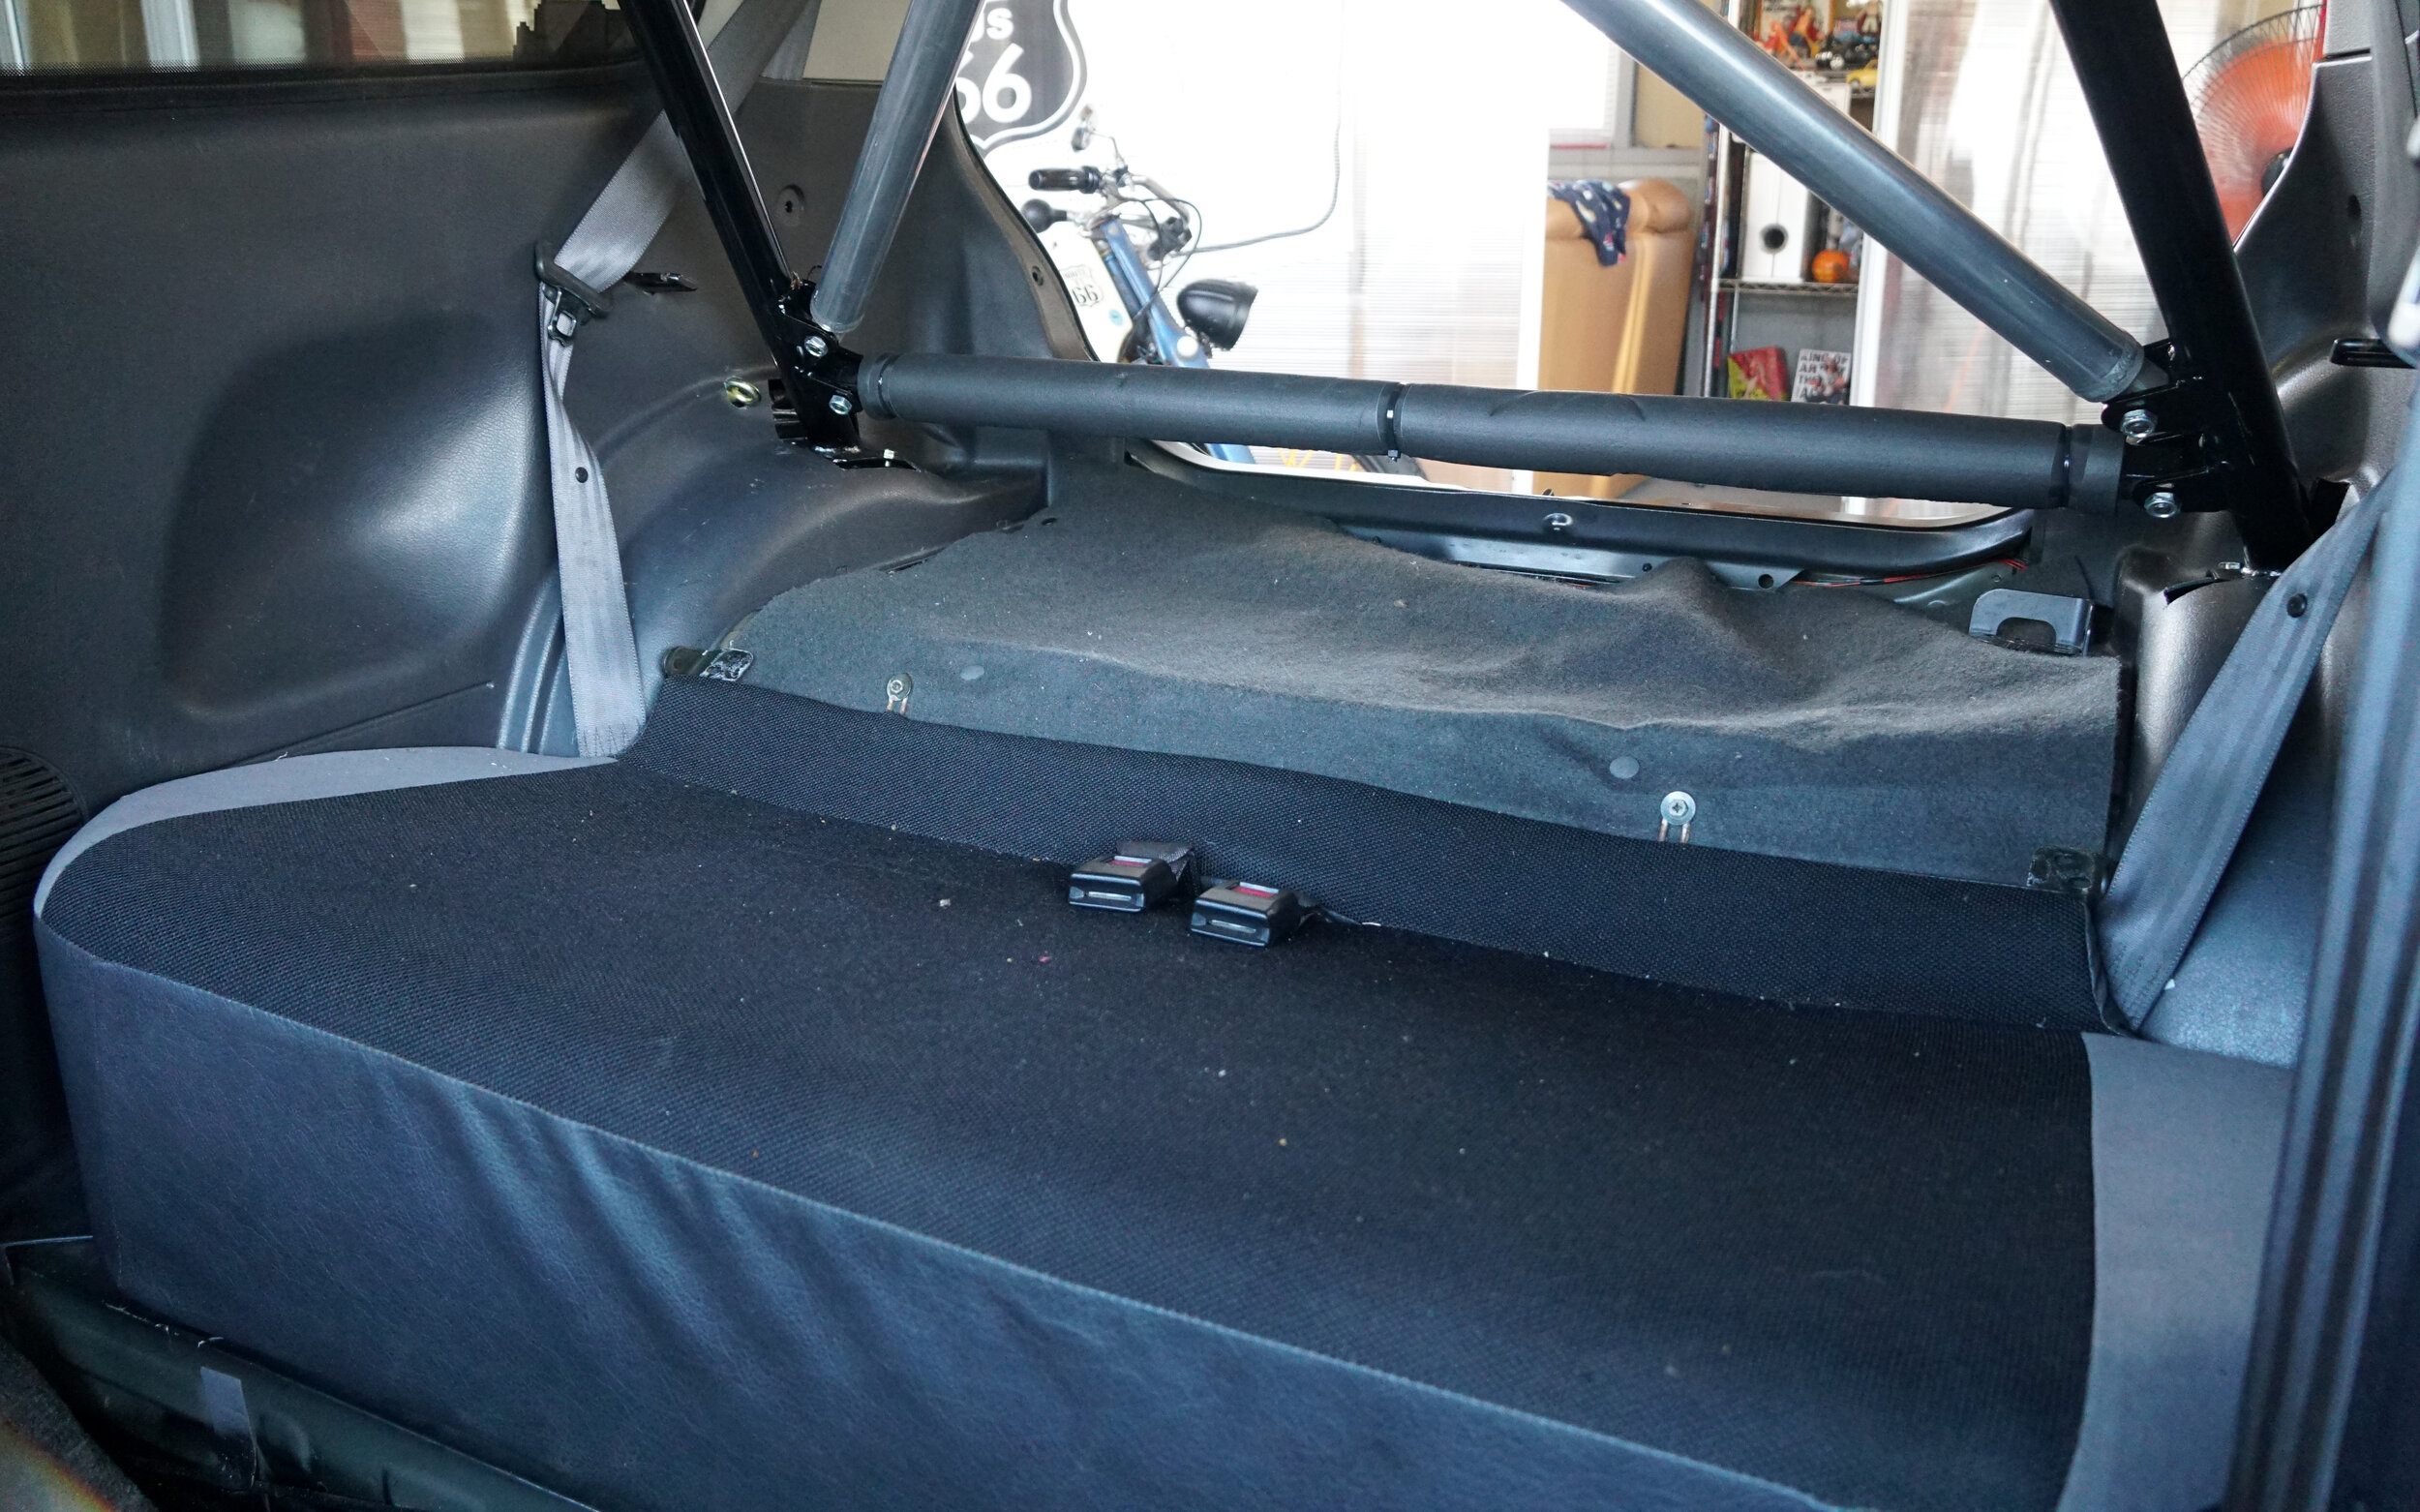
To make the installation easier, I also took out the rear bench seat, which came out with about 6 screws in total. I plan on leaving the rear seat back off the car, since it weighs quite a bit and also partially blocks one of the rear safety harness bolts when the seat is folded down (as it must be with the harness bar in place). I will, however, keep the rear seat bottom, as it provides a flat surface for rear storage and is good sound insulation since this is still very much a “street” car.
I look forward to the day when I go all-in and strip out the interior panels and carpeting.
Before the cage could go back in, though, the front carpet and rear panels also had to be cut out for the roll cage feet. The front carpet was fairly simple to cut with scissors, but the rear plastic panels had to be roughly measured out. I cut a pretty large opening, which isn’t quite as beautifully perfect as I would like, but this will make installation of the bolts much easier with the extra bit of clearance to work with.
With the backing plates finally painted with layers of primer, rust-preventative paint, enamel paint, and clear, I bolted the screws in and added plenty of silicon for weather resistance, as I did with my roof vent. I took a lot of time with this, carefully tightening the bolts evenly to ensure everything was straight.
Once that was complete, I could finally reinstall all the carpeting and panels back into place.
Impressions
After driving around for a few days, I can say the car definitely feels more solid around turns and bumps. The interior shakes and rattles noticeably less and the car overall feels nicely composed. Part of this may be the added weight distributed around the car, which I can feel; it’s almost as if I have an added passenger sitting in the middle. I can also hear the added weight, since my rear tires, already prone to rubbing over hard bumps, rubs marginally more often now.
As for comfort, I am glad the side bar does not intrude as much as I had initially anticipated. I specifically said the singular side bar, not plural side bars because unfortunately, the passenger side bar does not fit with the stock seat in place. It looks like it only works with a slimmer bucket seat.
Getting in and out of the car is slightly more difficult with the roll cage, but not as strange as I expected. Honestly, the bucket seat still requires me to disgracefully fall out of the car, so the bars change little. Any passengers, though, will have to be careful, lest they hit their head on the upper bar and fall out of the car disgracefully as well. Otherwise, the interior front cabin space, rear seats exempt, is largely the same as it was before and not a significant hindrance.
Conclusion
In the end, the Saito Roll Cage was a pretty cool addition to my Alto Works, giving me a bit more stability and more importantly, a lot more safety. May it also give me some street racer cred.


