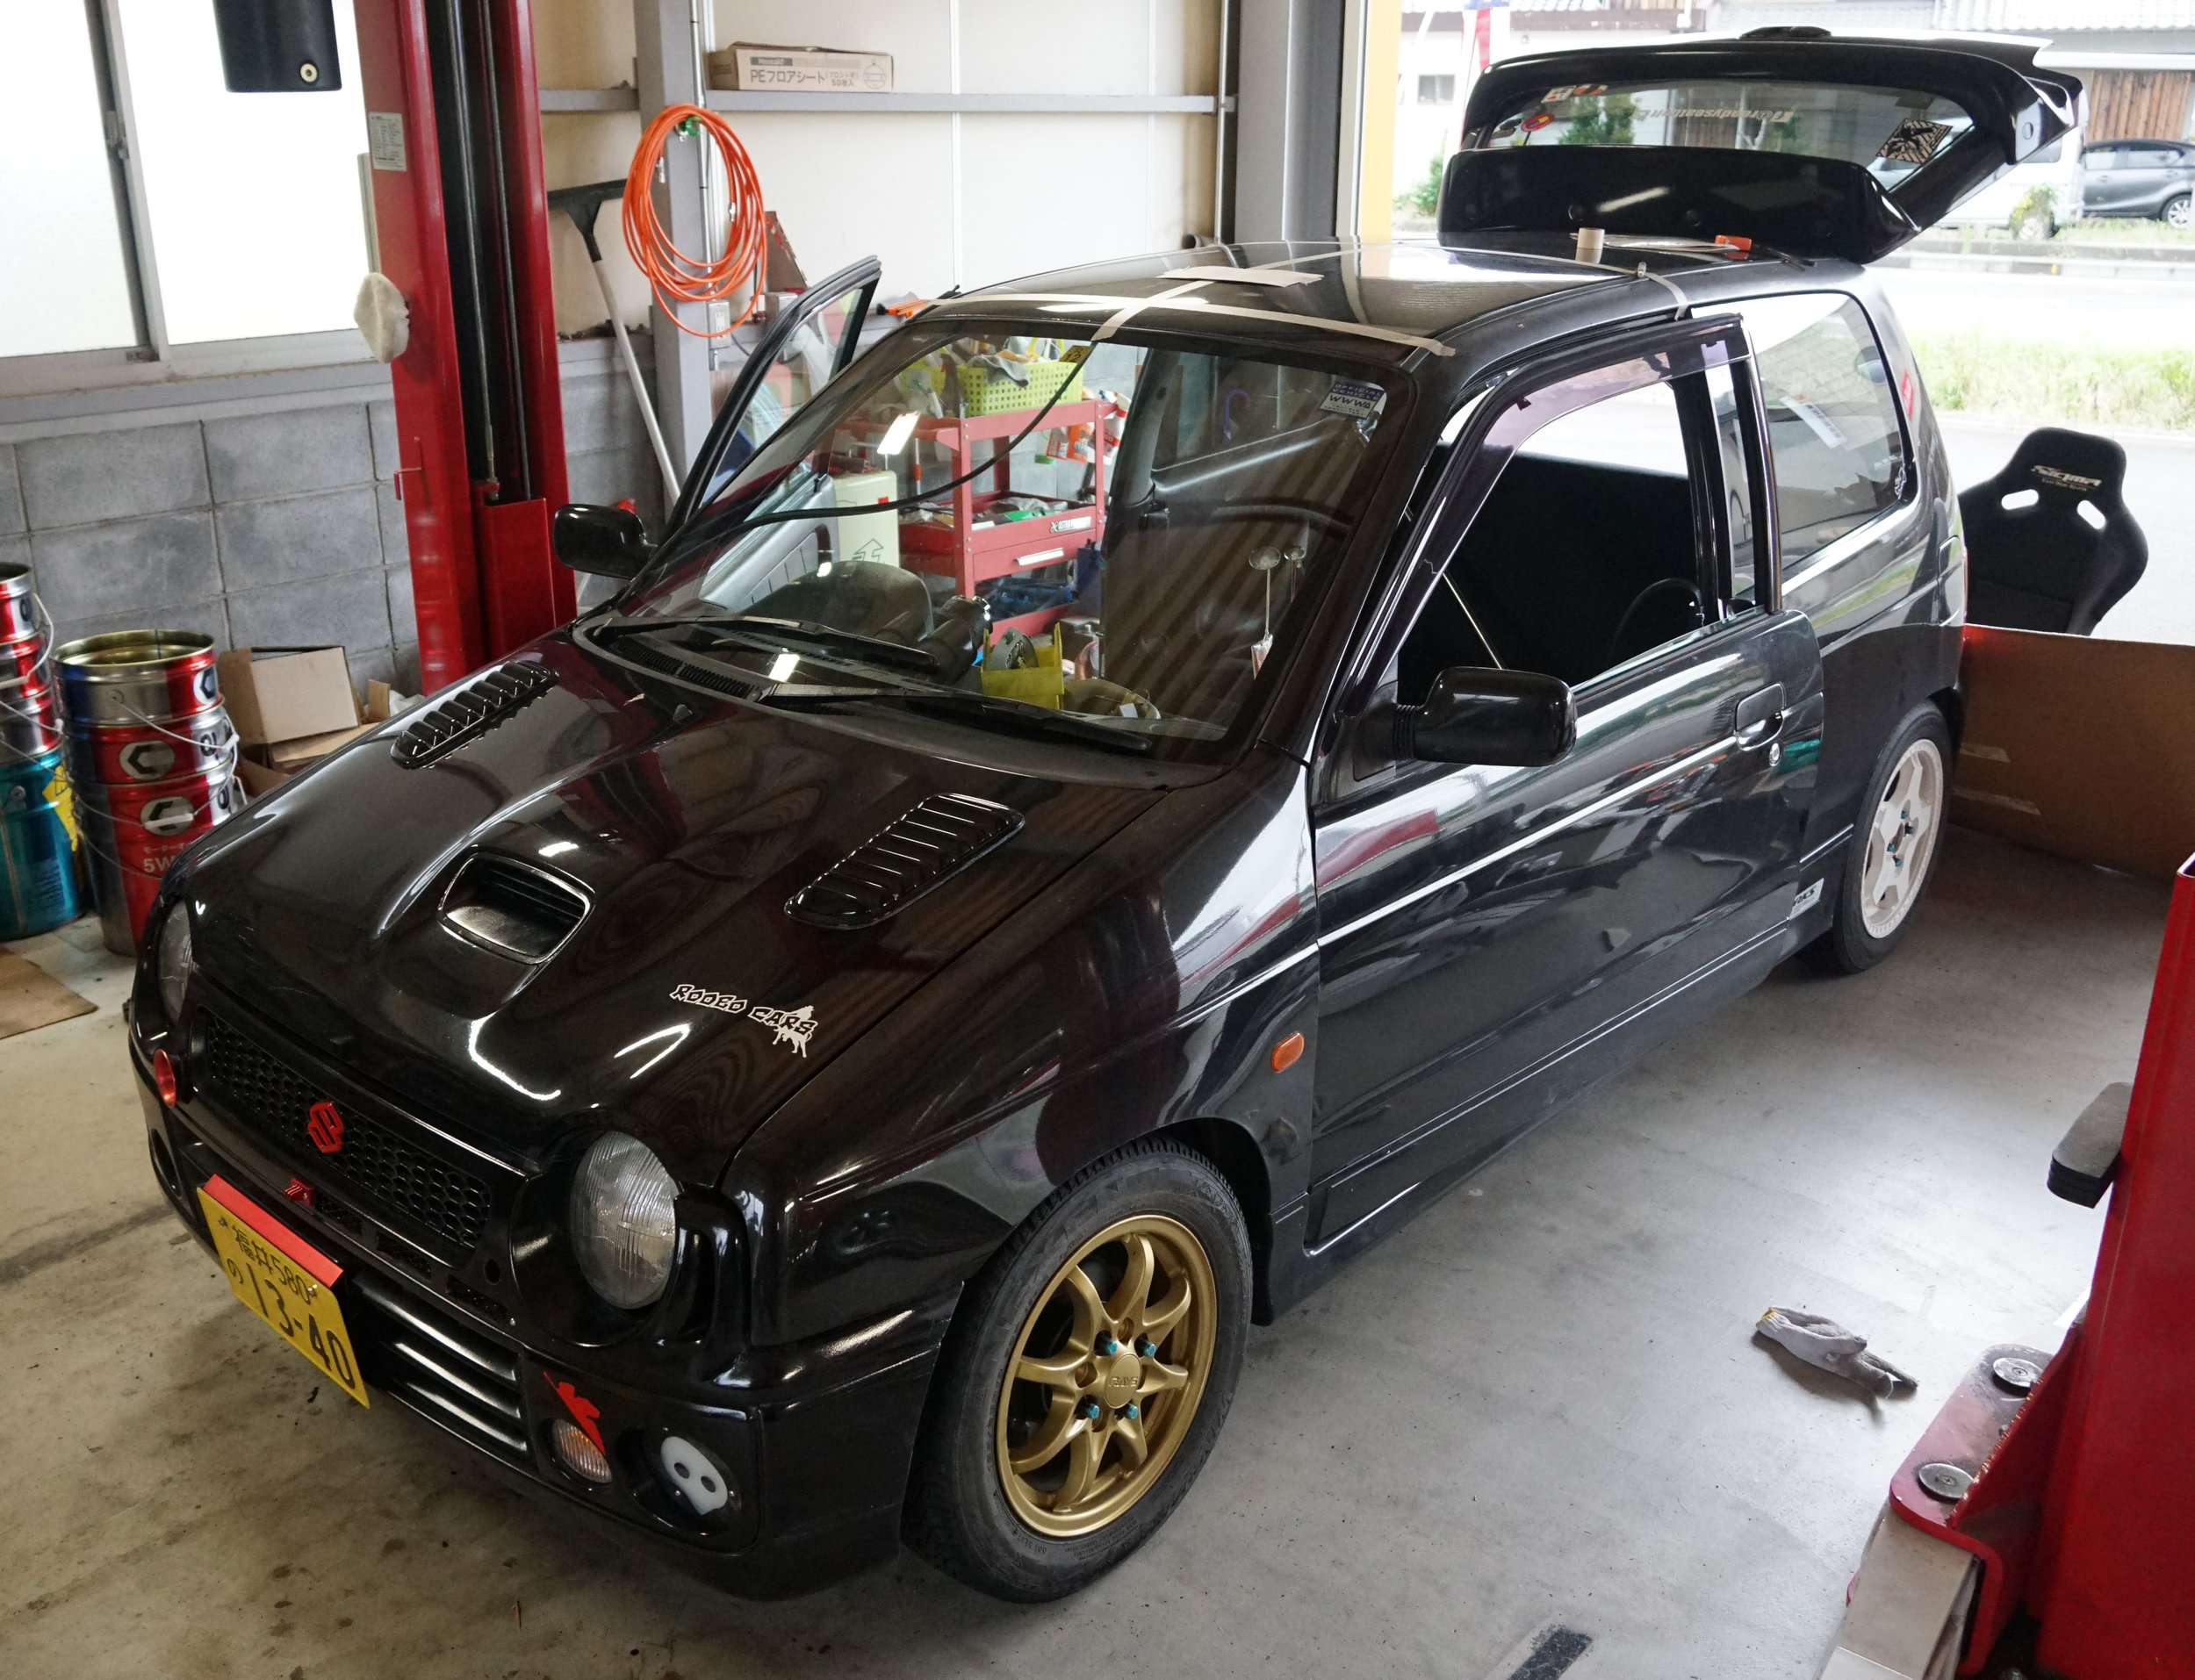
[ Alto Works ] Rally Roof Vent, Part 3
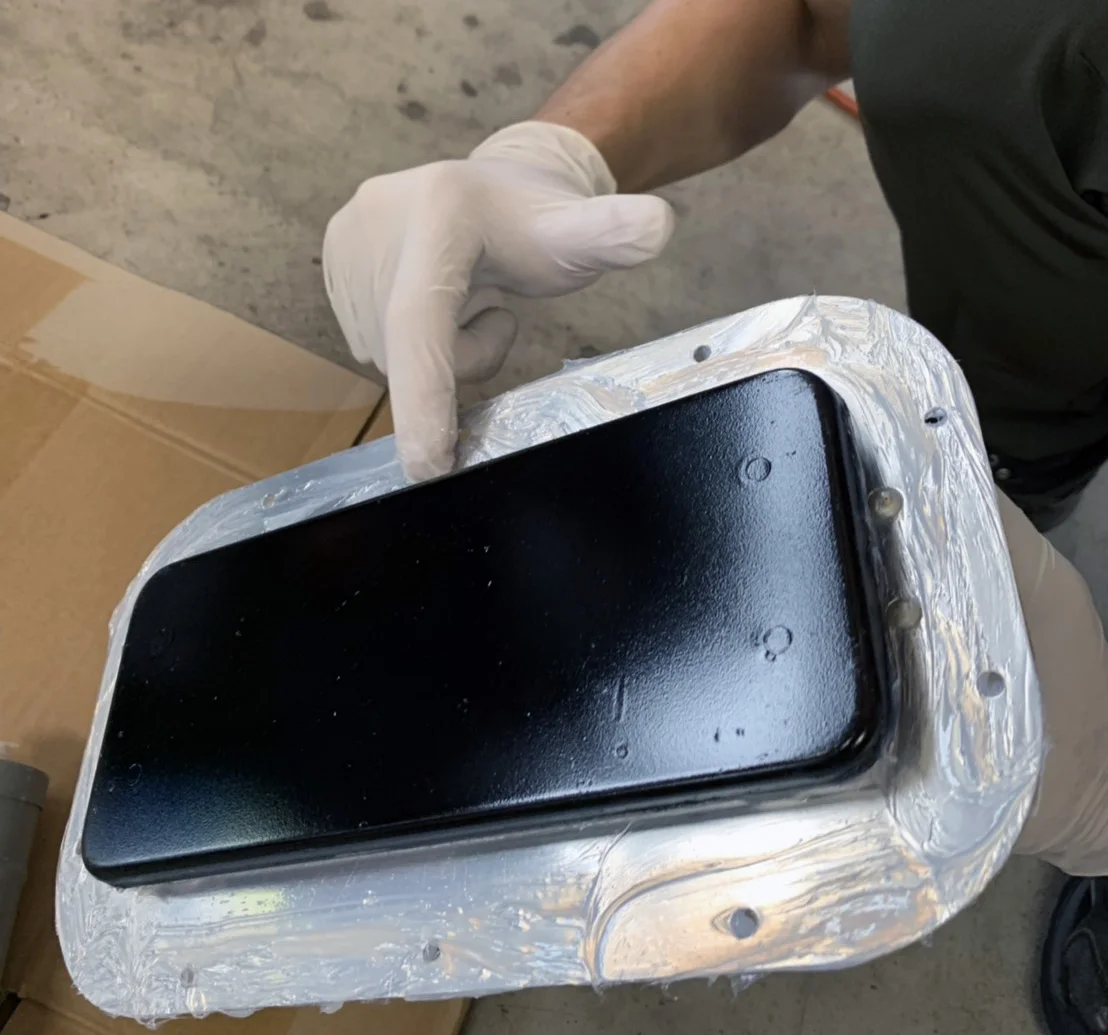
I started early for the third and last day of my Rally Roof Vent project. I didn’t want to borrow my friend’s Wagon R for another day while my Alto sat in his garage. Now that the vent has been siliconed in place, it was time to put the final screws through. With a dab of silicon on each, I tightened some stainless M5x16 screws in place with nuts, washers, and rubber grommets. I initially planned on using 12mm-length, but I wanted the extra to poke through the roof lining and finish off clean with some stainless caps, as you’ll see shortly.
But I’m getting ahead of myself. Inside the car, I taped up all the edges of the vent with quality 3M water-resistant duct tape to ensure no water would seep through. The inner roof lining was roughly aligned in place, marked for size, and cut with a utility knife. As with the outer roof skin, I started off small and opened a hole just big enough for the bottom handle to pop through, then marking off little-by-little afterwards. While it took time, this ensured I wouldn’t cut more than I needed.
With the roof and roof opening in place, it was time to put everything back together.
Cleanup
While I did everything I could to keep metal shavings out of my interior, a lot of metal dust made its way around. I’ll detail my cleanup process another time, but suffice to say for now, I had a lot of work on my hands to make sure the interior is clean and usable again.
As well as the outside. During the whole process, I kept wiping down the exterior of the car. This is especially important since the metal shavings rust quickly and can immediately start oxidizing metal. But once the last silicone in the screws dried, I made sure to wash the whole car again.
Ensuring no water dripped into the cabin, I could finally take it for a real spin. Opened rearward, the vent created negative cabin pressure, allowing air to flow out of the interior, with or without windows open. This keeps additional air flowing through quite comfortably, as essentially a low-cost sunroof. This is how I intend on using the vent most of the time, as I do not want potentially bugs or water flying into the cabin.
Opened forward, a significant amount of air blows straight into the cabin even at relatively low 40kph speeds. The positioning of the vent is absolutely perfect, blowing just forward of my face toward my upper arms and chest. (Keeping in mind my bucket seat leans me at a slight angle. If I had the stock seats in, it might be at my face.) This is probably the best position for a trackday to get airflow into the cabin, but not great for a mosquito-filled summer night.
When closed, there is virtually no additional noise below 60kph. However, right around 70kph and above, there is a bit of wind whistling under the cover, squealing like a tiny kazoo. I had considered this a possibility, so I’m hoping that I can fix it with a bit of foam.
Finishing touches
For the final bit of finishing, the M5x16 screws were poked through the felt and covered with cap nuts. This keeps the roof lining from moving around and flush against the roof of the car for a cleaner install.
I initially wanted to use rubber door edge trim to make clean edges in the interior roof liner, but sadly it refused to stick on the felt and cardboard backing. My Plan B was to use 5mm plastic cable cover to wrap around the edges and hide the ugly exposed cardboard. Hopefully this will also protect the cardboard from absorbing too much water and warping it. Surprisingly, this was a time-consuming process to get the wrap applied around much of the edges and as straight as possible.
This was temporary until I picked up some plastic window corner edging. This really cleaned up the look for the semi-professional touch.
To cut the wind noise, I experimented with a bit of rubber door edge trim inside the top lid of the roof vent. This might keep the airflow from creeping into the cabin when the lid is closed.
Problems
Not every project comes out perfect. Next time, I’ll smooth the edges of the silicone a bit before I let it dry and use black silicon for a cleaner finish, since particularly up-close, you can see it’s not quite perfect. Also in my haste to start the project, I had forgotten to properly cover the whole roof to prevent metal shavings lightly scraping the roof and the silicon sealant getting on the paint. (By the time I realized what I should’ve done, it was already halfway into the sanding process.) The cleanup of the metal powder and silicone residue took quite a bit of time to wipe off completely before and during the car wash. Scrutinizing the paint, there are a few fine scratches were there were none prior to this. Though for 20-year-old paint, it still isn’t bad at all when compared to the sides of the frame when the clear coat has long since faded.
Conclusion
The vent certainly has a boxy “industrial” look to it, which is perfect for the whole DIY project of the car. The exposed stainless hardware also match the other exposed stainless hardware around the car with, perhaps, more to come. I do wish it ended a little more flush with the roof of the car, but it certainly does grab attention when it’s open! I have been getting plenty of looks whenever I’m parked around town.
To be honest, I currently have absolutely no need for a roof vent. I think I did this primarily because I wanted to experience the installation and process on a car that did not cost me very much to buy. Should I have damaged it or I made an irreparable mistake, the cost to fix or simply discard the whole car would not be excessive.
That being said, I am absolutely, unabashedly happy that I proceeded with the experiment. Like my oil cooler project and the hood vents before, I learned a lot from the labor and trying to do a bit of “custom” work myself. The results may not have been as good as I hoped, though with pride I can definitely say that I did it myself and that maybe no other HA11S/HA21S series Alto Works in Japan has anything like it!
Maybe for a reason. I sure hope I can pass shaken in another year-and-a-half.


