[ Swift Sport ] Project Mu TYPE PS Brake Pads (Modifications, Part 5B)
I agonized weeks over the decision on my replacement front pads, comparing prices, reviews, and brands of several major manufacturers. Prices range from 3000¥ ($25 USD) for OEM-level equipment, to well over 20,000¥ ($190 USD) for track-use pads. Since the fronts do a lot of the braking work, especially for a front-engined, front-drive car, and the fact that I do somewhat harsh spirited street driving, selecting carefully between price and braking performance is critical. Also because this is a daily-driver, cold braking performance, brake dust, and noise are also important.
Due to a lack of real trustworthy reviews I could rely on, I recognized price is not the only determining factor. My Miata has cheap Pep Boys pads, but as I hinted before, pads do not make the only difference. For that car, I used high quality DOT4 fluid… and the car stops consistently well, even after hard autocrossing and track use. Granted, the car is rather light, but that setup is more than good enough for my use.
For my Swift Sport, though, I finally settled on a set of TM Square Street Brake Pads which are priced at 8600¥. TM Square is a small, but well-known manufacturer of primarily Suzuki Swift parts. While I’m fairly certain they don’t make the pads in-house, they claim their pad compound was engineered specifically for them. The company has a lot of race experience with Suzukis, so I expected them to work fairly well.
However, I was glad I was patient on the decision-making because during the waiting interm, I found a great deal on a brand new, unused but “second hand” set of Project Mu TYPE PS pads. They originally retail at 20,000¥, but because they were considered “open box”... they were about 5000¥ ($45 USD), shipped. Ridiculously cheap for arguably one of their best overall pads from a well-respected manufacturer, as these pads claim to have a great balance of braking performance, pedal feel, little noise, and reduced rotor wear.
I opted not to replace the rotors at this time, given that the overall condition of them are still quite good. Maybe after these stiffer pads wear down would I replace the rotors then.
Time to put it up on a lift and replace the brakes. One thing I absolutely love about modern disc brakes is the fact they are super easy to replace. Remove the one lower bolt and the whole brake assembly pivots on the upper bolt.
Perhaps the most difficult task is to push the piston in… without the right tools, it’s a minor hassle, but luckily I have access to a proper piston compression tool here at Rodeo Cars.
After a bit of cleaning and some application of high-temperature lubrication to minimize pad chatter, the whole assembly is back in place. This is also a good time to drain a bit of the brake fluid and replace it with fresh fluid. Since it is still pretty clean from my last shaken, it doesn’t need a full drain or flush.
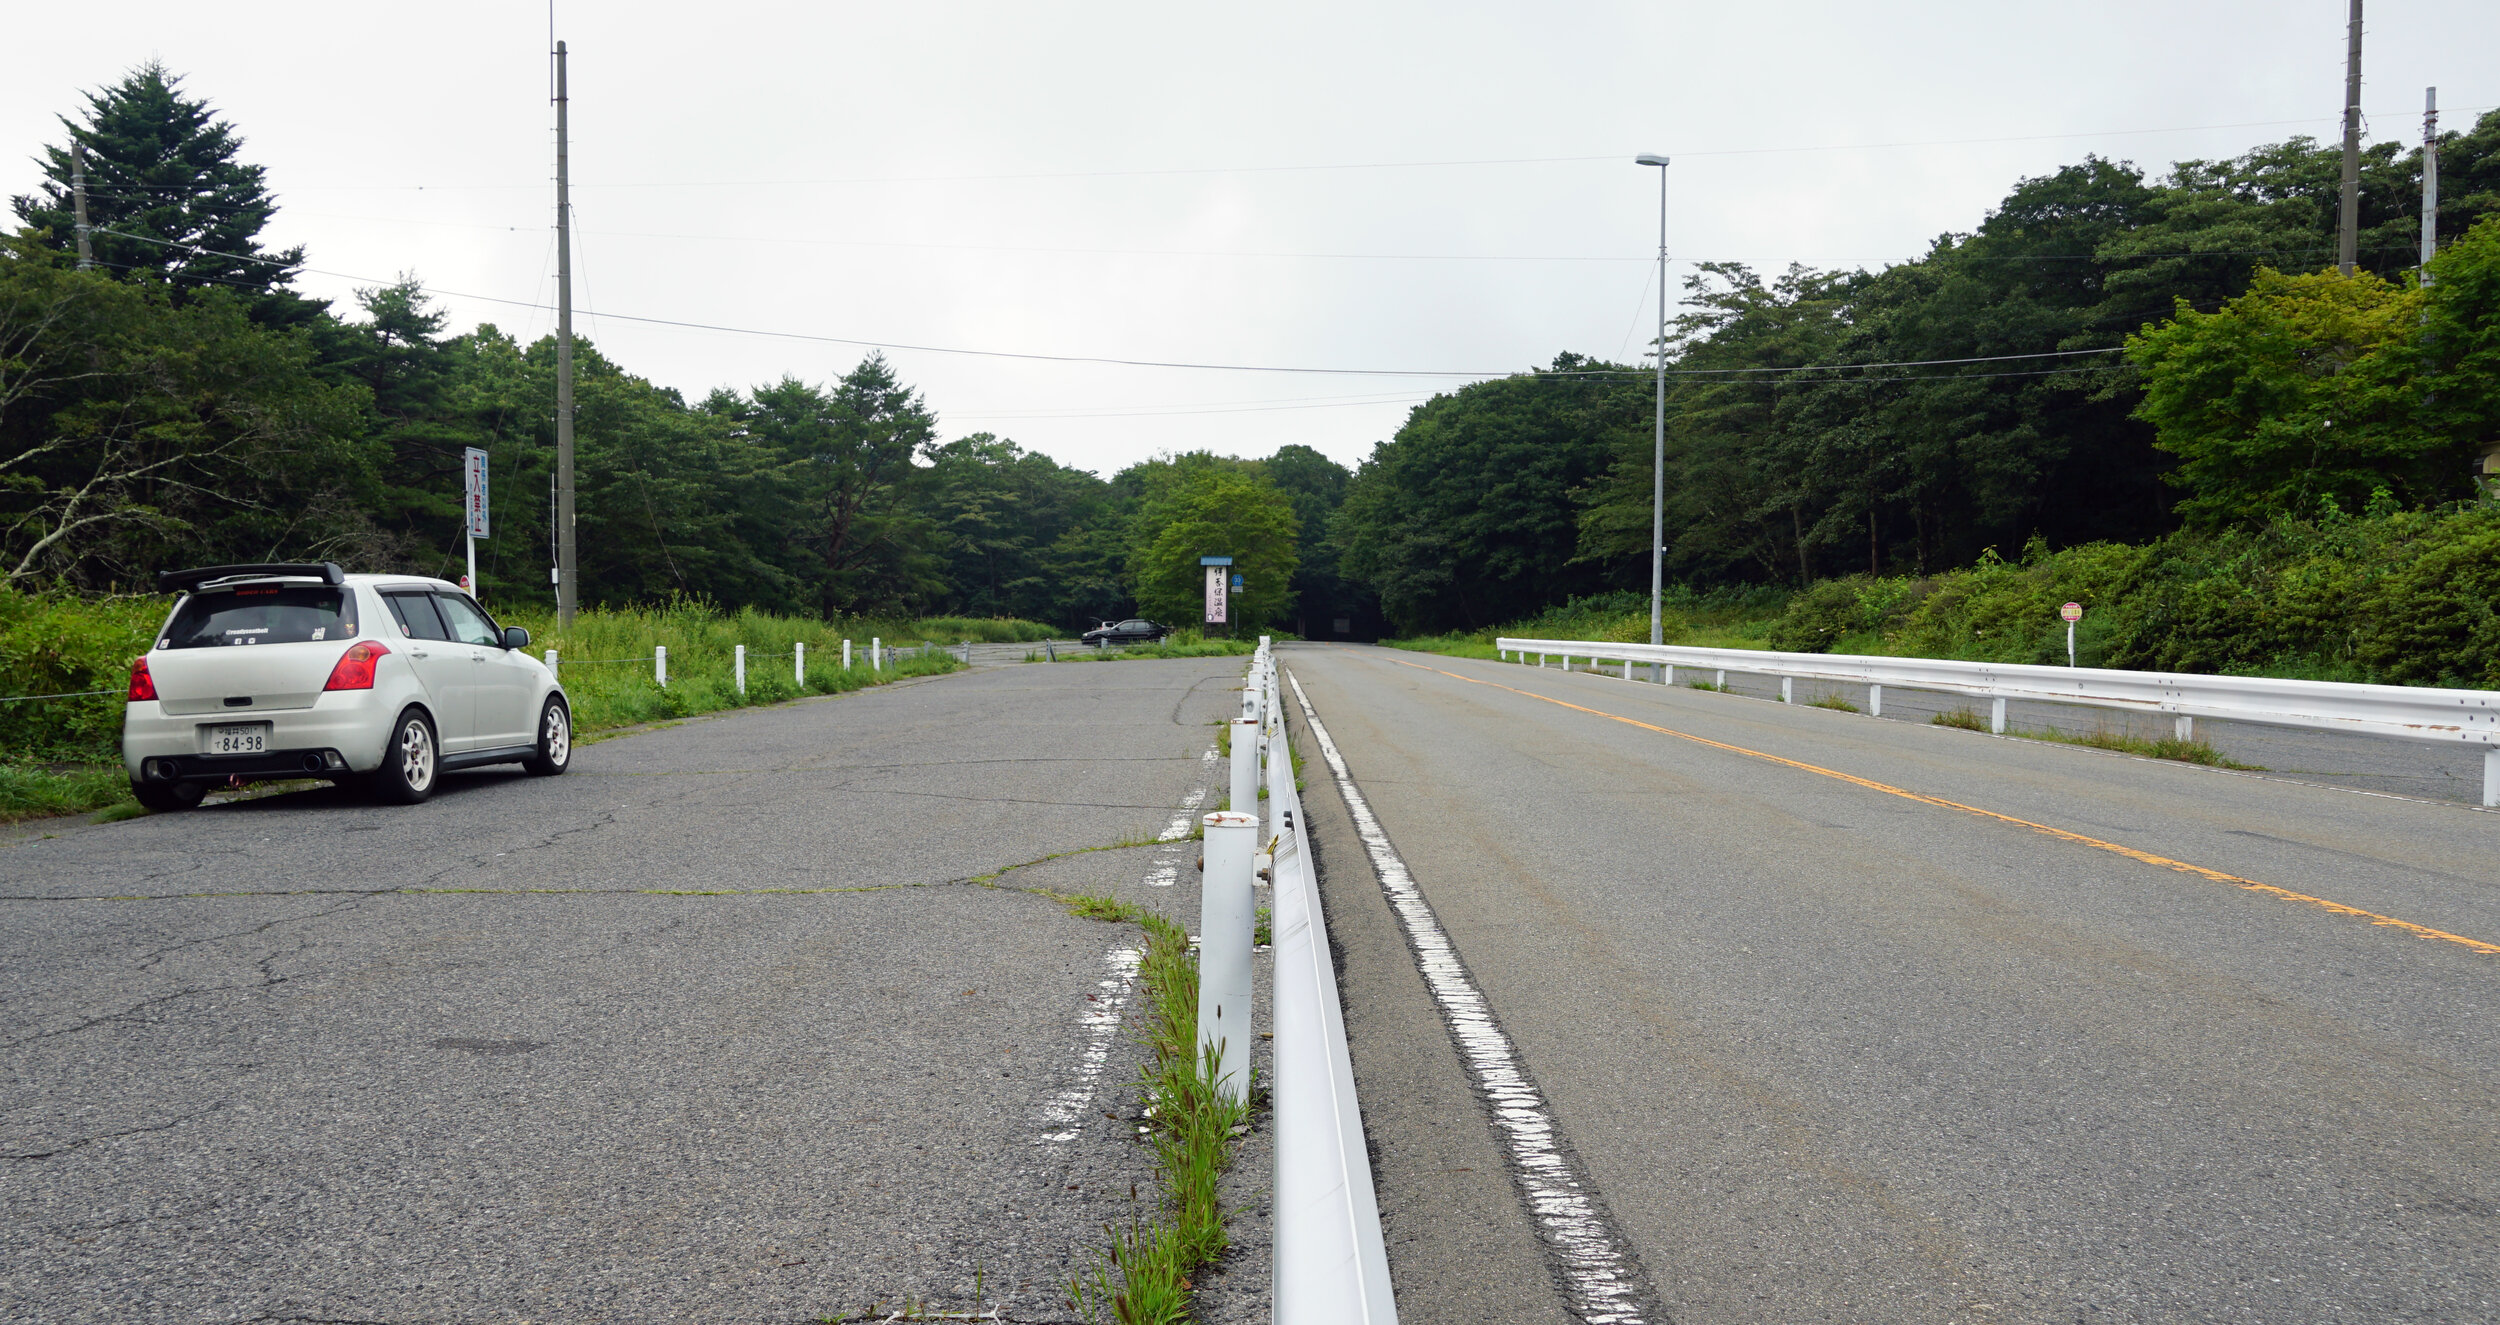
The first thing that needs to be done once everything is cinched back up is bedding the brakes. The process to bed in a brake pad is pretty easy, but it’s quite important. The main reason to do this is to ensure some friction is done and wear surfaces are mated properly. Essentially, I need to heat the pads and rotors sufficiently by having a few relatively hard high-speed stops. Without anyone around, I found some empty stretches of road nearby where I could do this safely and not bother anyone.
After a few hundred kilometers of fairly typical street driving, my initial impressions are pretty darn good. The brake pads have never squealed (other than the first drive after a wet night due to rotor rust… but that applies with all cars). The brake pedal is firm and braking pressure is consistent.
I only had a chance to flex the pads a bit on some local winding roads before I made this post and I can say quite certainly they are as they claim. I purposely tried to quickly push hard on the brakes on every corner in order to get the brakes as hot as possible. The initial bite is strong and feels consistent through several hard braking passes. Even afterwards, I noticed minor brake dust on my wheels, but it is not that much different than the previous pads and to be fair, I tried to drive relatively hard on them.
In truth, however, I have not tested them to their maximum heat capacity, so how they fare on hard driving or circuit driving is another matter. I do have faith in their advertised performance based on the driving I did thus far and Project mu’s reputation in racing. Brake job done!


