[ Alto Works ] Gauge Install, Part 2
I picked up these gauges online. Defi Racer gauges! Wow!
Look again. Yup, they’re knockoffs! I’ve complained about knockoffs before and I will state so again. At the very least, if they had no logos and only the trademark appearance, I would be less bothered. I would’ve preferred a set of gauges that were this complete, at this price, with no logos. I only paid less than $45 USD for two gauges, shipped. So knowing that, I have accepted the likelihood these products are absolute garbage and I’m curious to see how well they work.
The gauges themselves look ok. Upon closer inspection, they don’t look much like real Defi gauges at all. I was worried that the knockoffs are starting to look too good, but they definitely have a long way to go. One thing I can see quite obviously are the rather short, high-gauge wires. It’s not just the thin-ness of the wires, it’s their brittleness. When I started to strip the wire for soldering preparations, it was evident the quality of the wiring was rather low. But, like the oil cooler, it was cheap so my expectations are kept in check.
The manual consisted of a single-page leaflet, but REAL MEN DON’T NEED NO INSTRUCTIONS. I’m joking, of course. I’ll figure it out. I’m somewhat impressed with the whole kit, as each gauge had the corresponding sensors and accessories to install. Not bad for the price, right? How well do they work? I have no idea til we get it all wired up.
In hindsight, I should’ve test installed the gauges first to check function even before continuing and getting serious with the whole wiring and soldering. But with the car already on my friend’s lift, I had to take this opportunity to get the wiring done when I can easily access the car and with tools and electricity (for my soldering gun) accessible. Otherwise, I’d be doing this in the parking lot in front of my apartment, with a long extension wire coming out my window. Not really ideal working conditions, so I did my best to finish on this long weekend.
Technically, this is Day 4 of the progress of the Oil Cooler Project on my Alto Works. Without my friend’s help to drain the oil and find a way to get that recessed filter out, as he had other projects to work on, I continued the work on the gauges instead. With the necessary tools in hand and the car laid bare in front me, under the oil cooler surgery, it was perfect timing to put these gauges in.
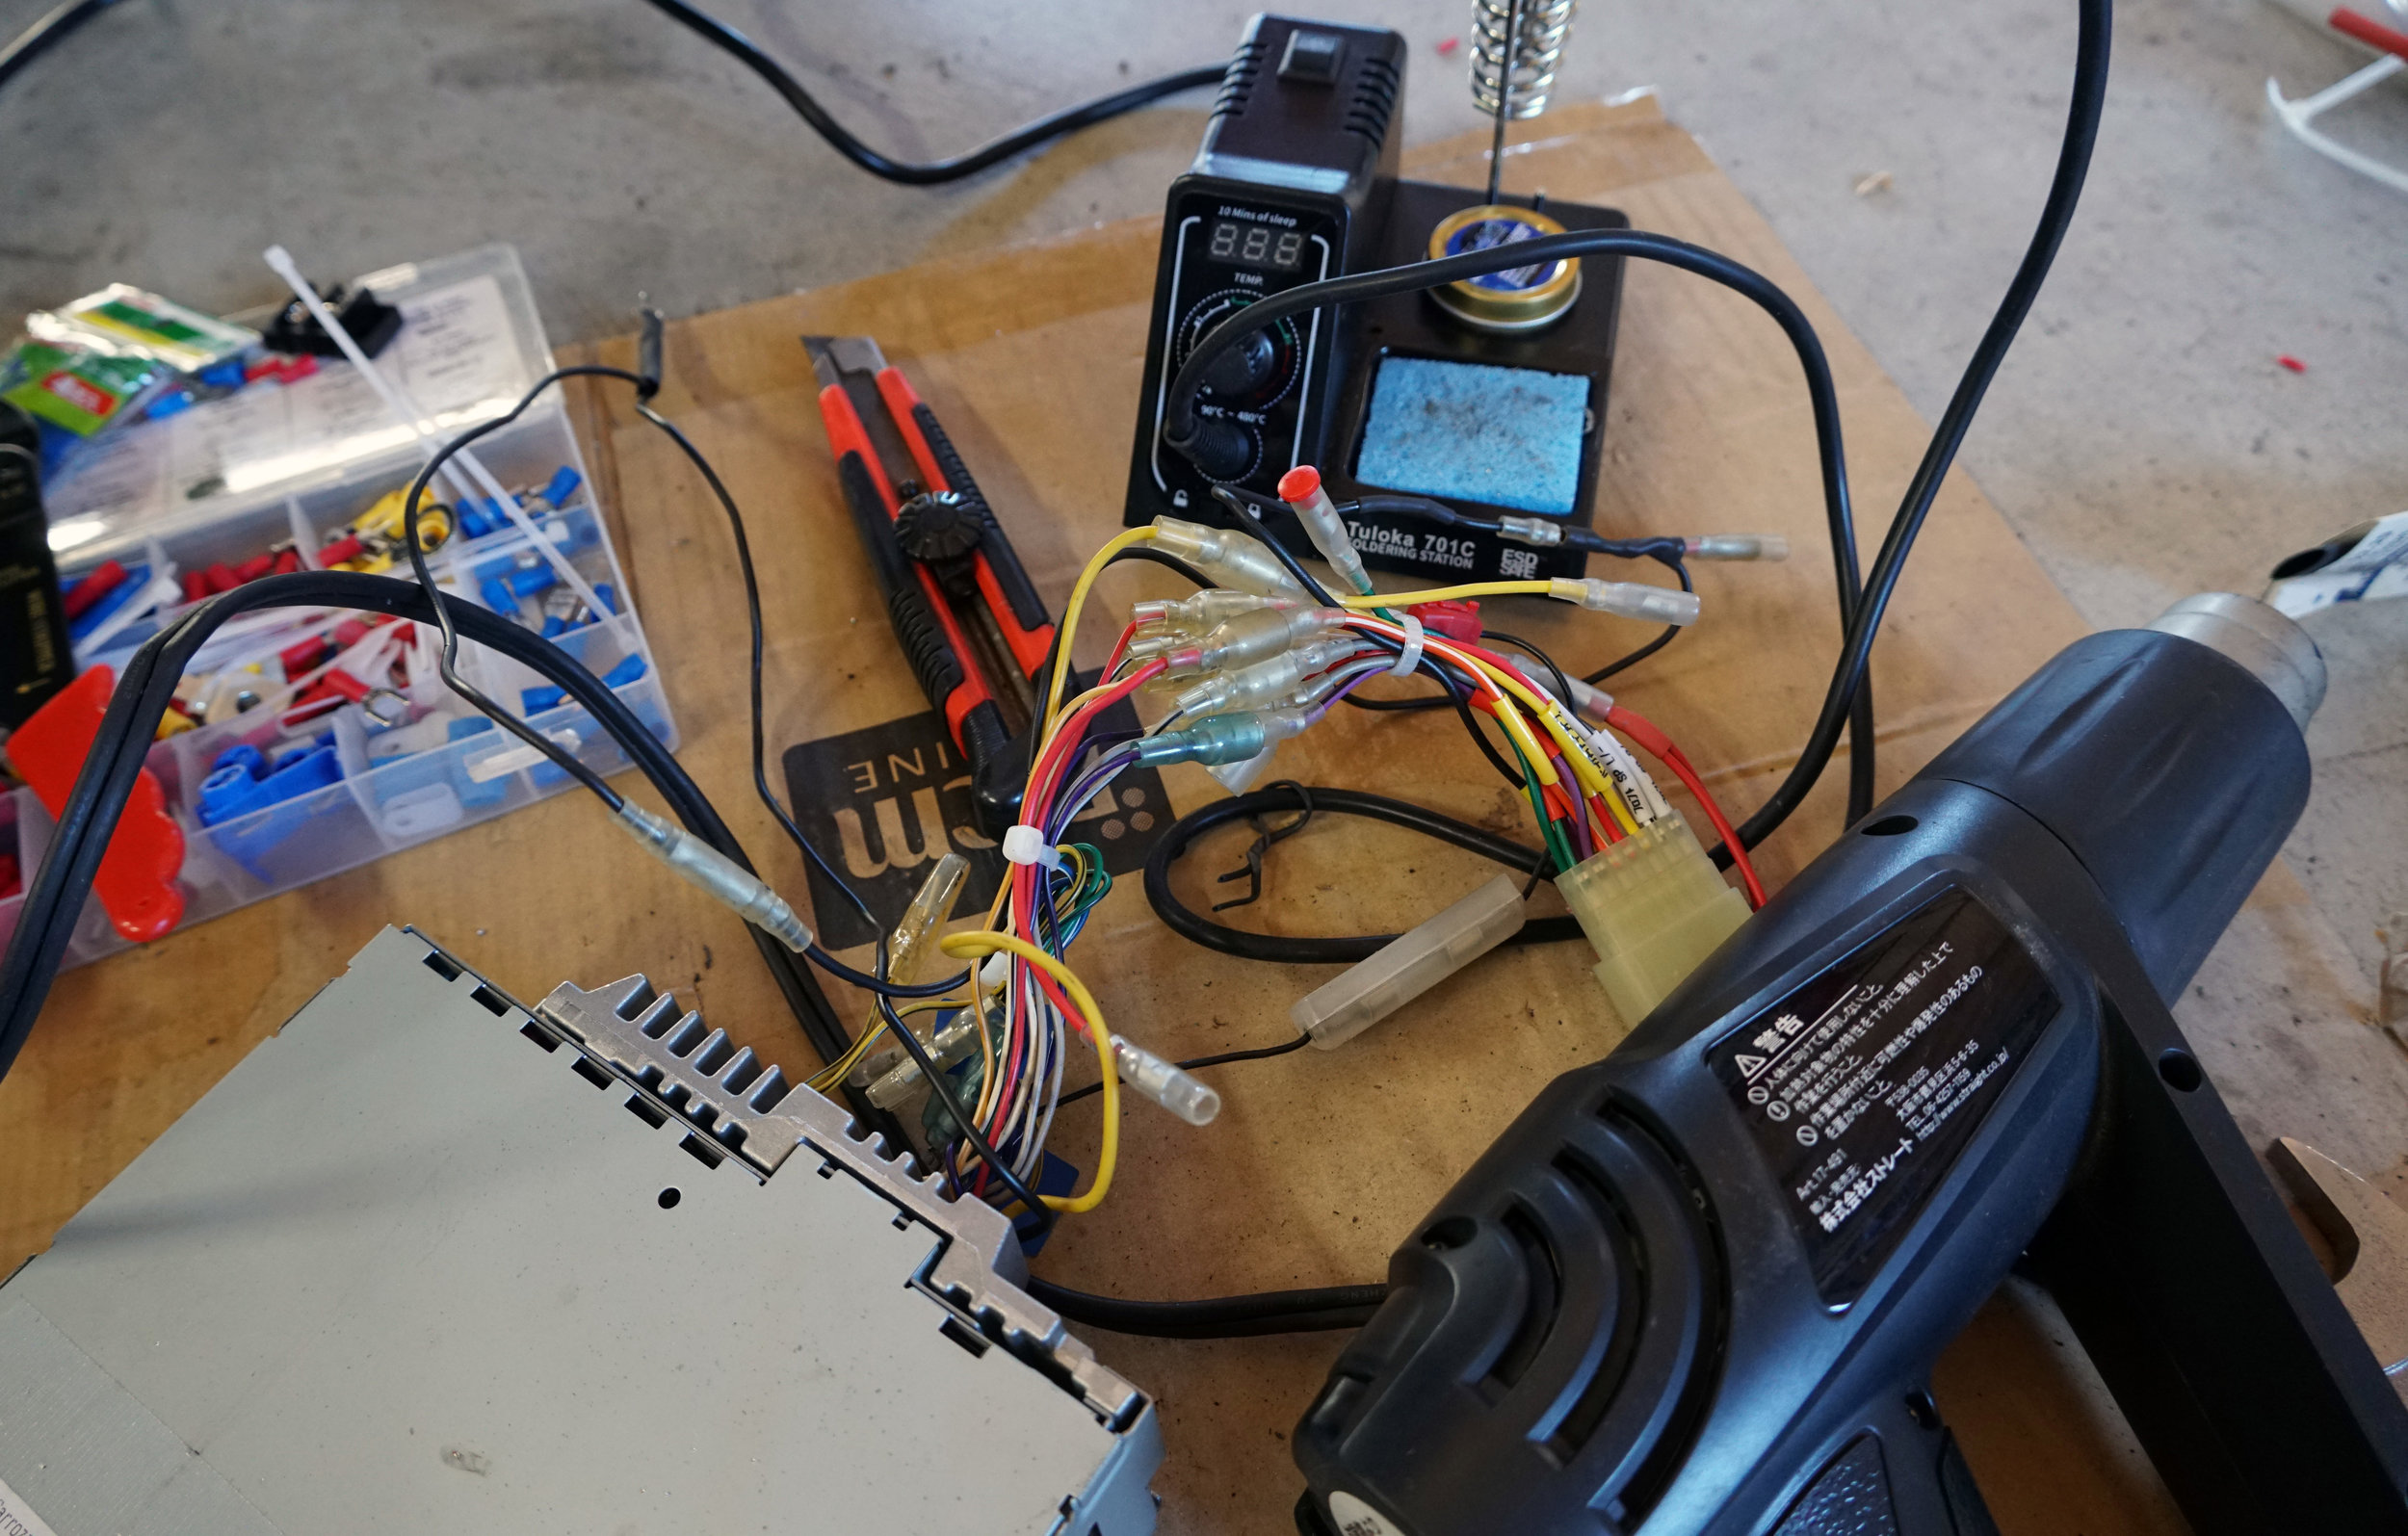
I think I became halfway decent with soldering wiring at my last job and I figured I would get some use out of an iron for projects such as this so I purchased a new mid-range unit. I started with wiring from the oil pressure sender. I roughly measured the stock wiring loom and the wiring coming from the far side of the engine bay, soldering on proper connectors. Roughly being the operative word...
I also properly wrapped the entire length of cable with as much wiring harness protector as possible to protect from the heat, weather, and wear that engine bays are subjected to, tucking them along with the stock harnesses as I could for a cleaner look.
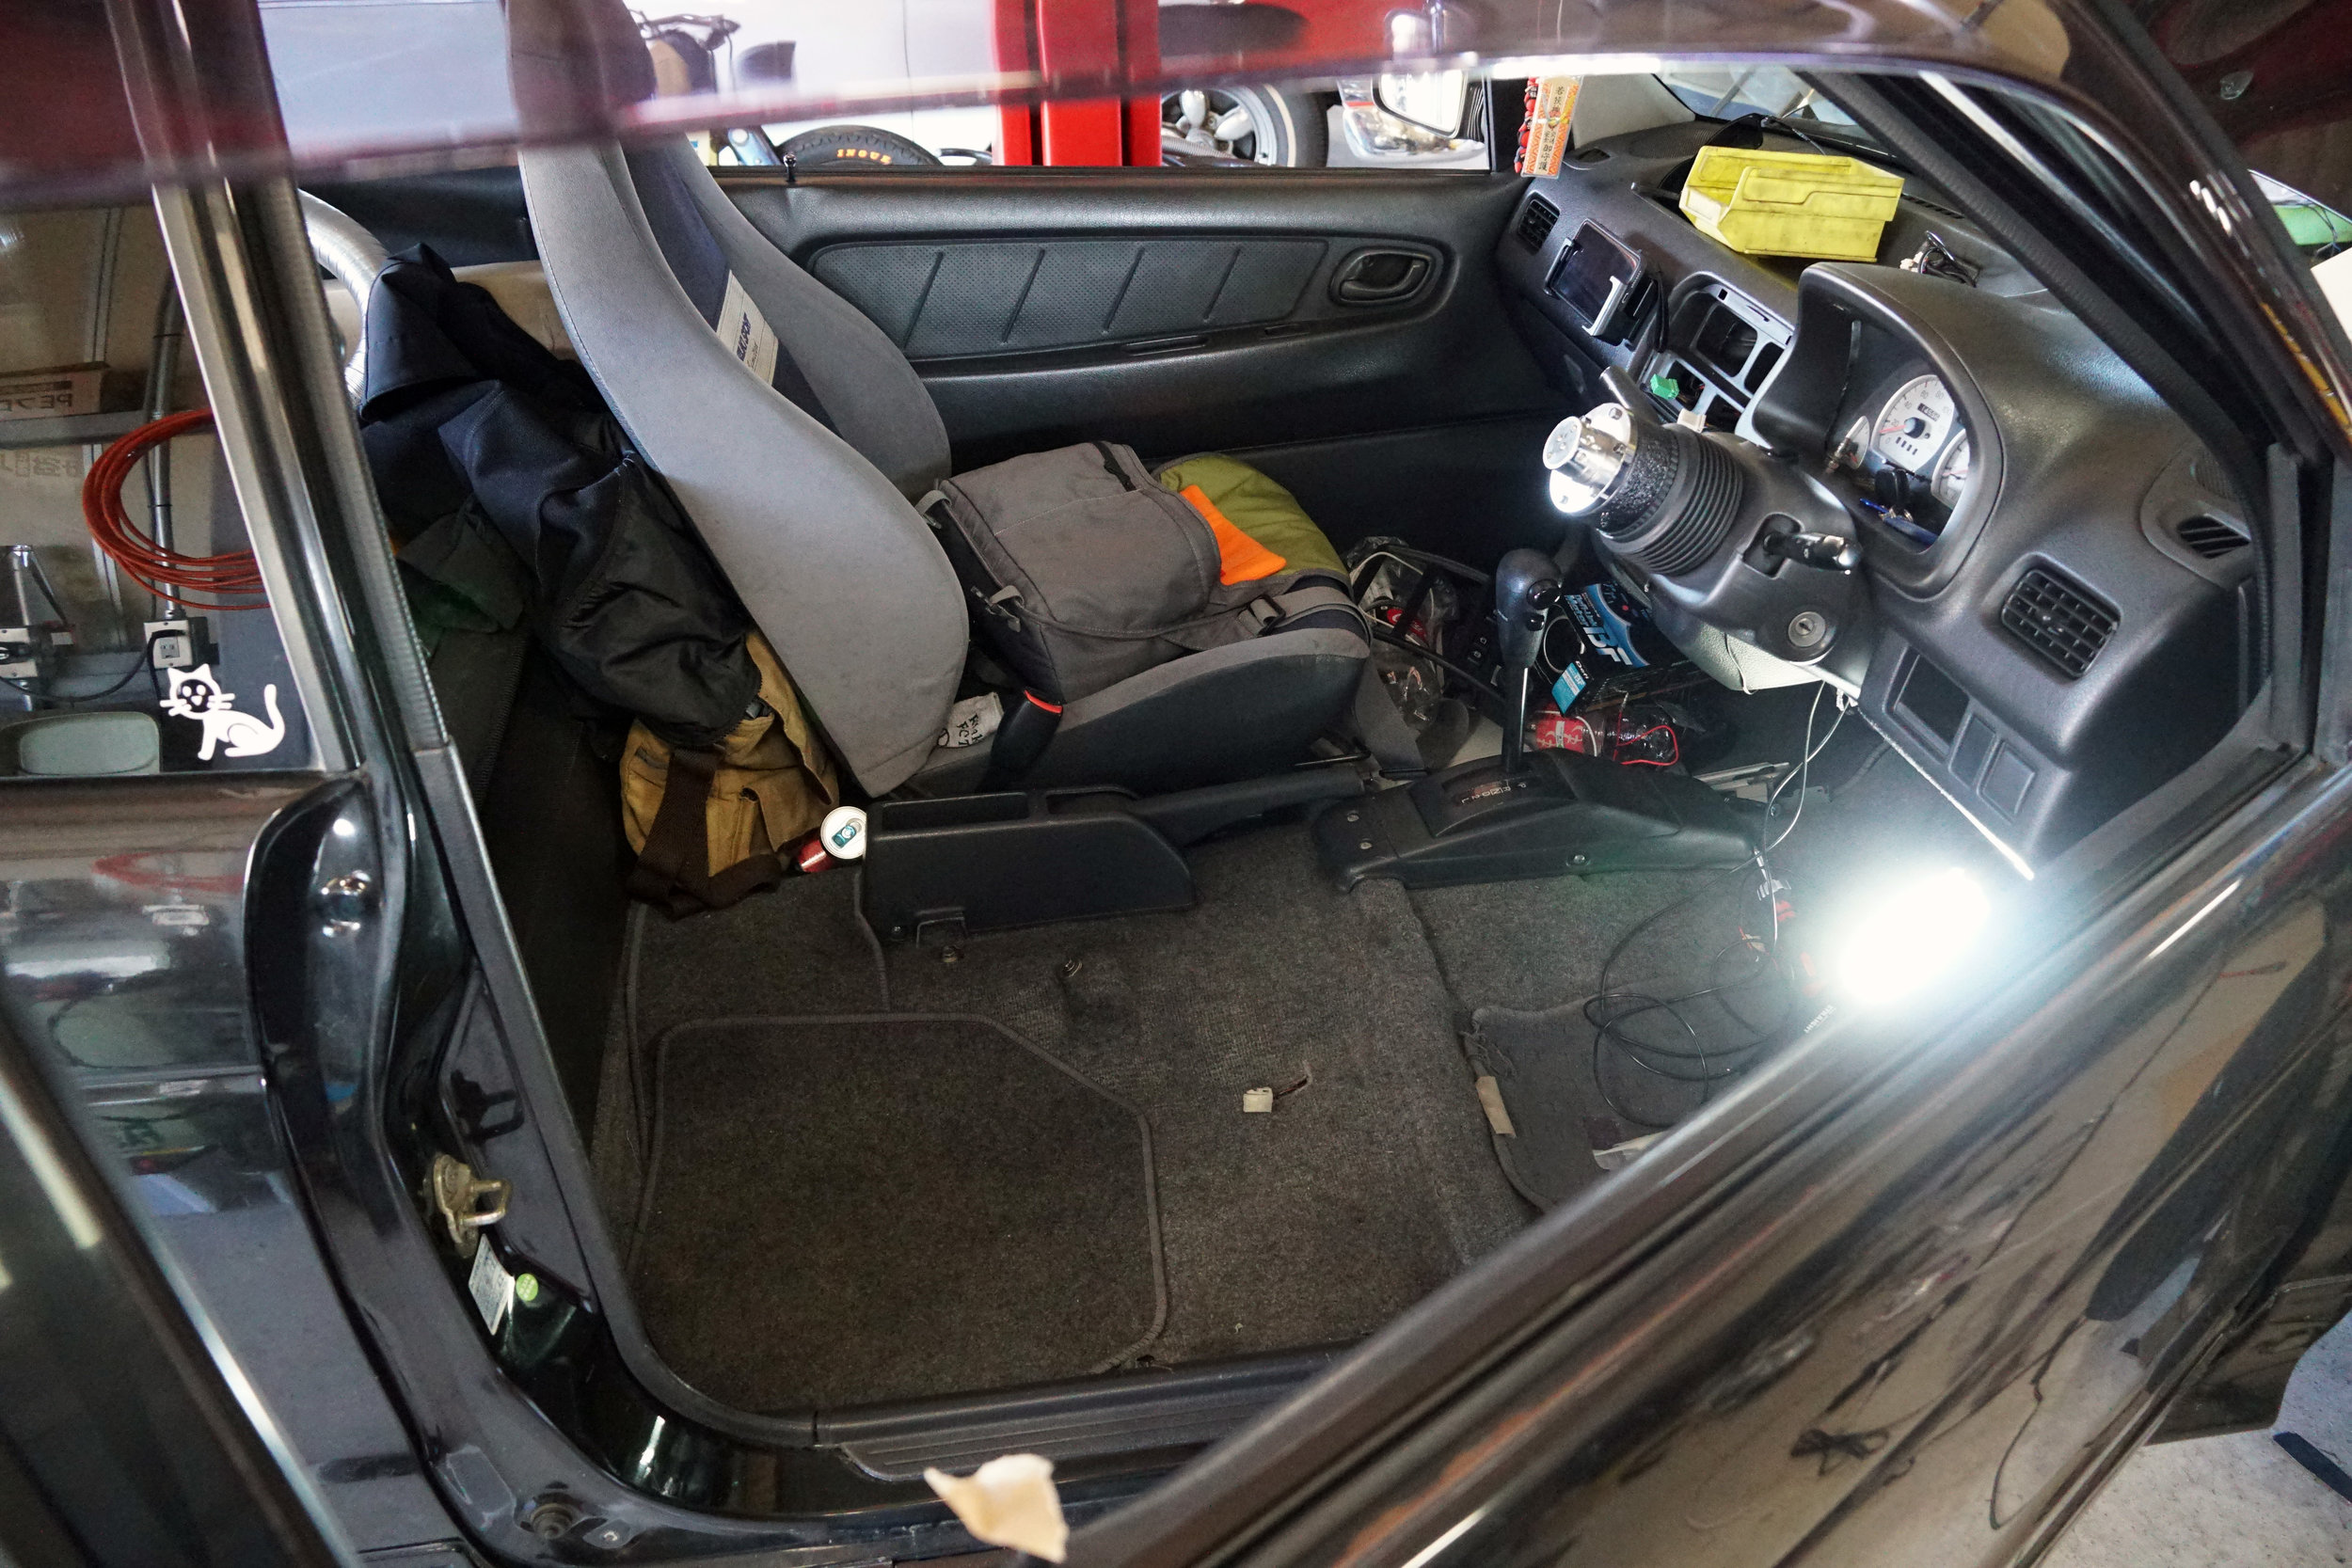
Now onto the interior wiring. My steering wheel was removed easily with a quick-release adapter and my bucket seat came out with only four bolts. This gave me plenty of working room to get under the dash.
Out came my head unit and the huge mess of wires that came with it. I actually needed to snip a few cables like the Electronic Toll Card (ETC) reader which was vampire tapped into the head unit by the previous owner(s). The radio wiring loom was a mess and nothing was cable tied for organization. It was a disaster of half-hearted lazy installs.
While some of my friends have mocked my “metalwork” I did before, I would never allow something like this to pass. (Hey, I know what I’m good at.) So I wanted to clean up the wiring, making the gauge install as clean and smooth as possible. This involved lots of soldering and attaching proper split Y-harnesses. Of course, back to the hardware store for a fourth day in a row for more bullet crimp connectors often used in JDM radio harnesses. (Stateside, we often just use simple joint crimp connectors. While arguably more secure than quickly-removable connectors, I think it’s much nicer to have the flexibility of disconnecting rather than cutting when needed, especially on non-critical components like radios.)
With more connectors in hand, I split power from the head unit for Illumination, constant Power, Accessory power, and Ground to provide power to the ETC reader and gauges. The gauges only need one power line, as the consecutive ones are daisy-chained in serial succession.
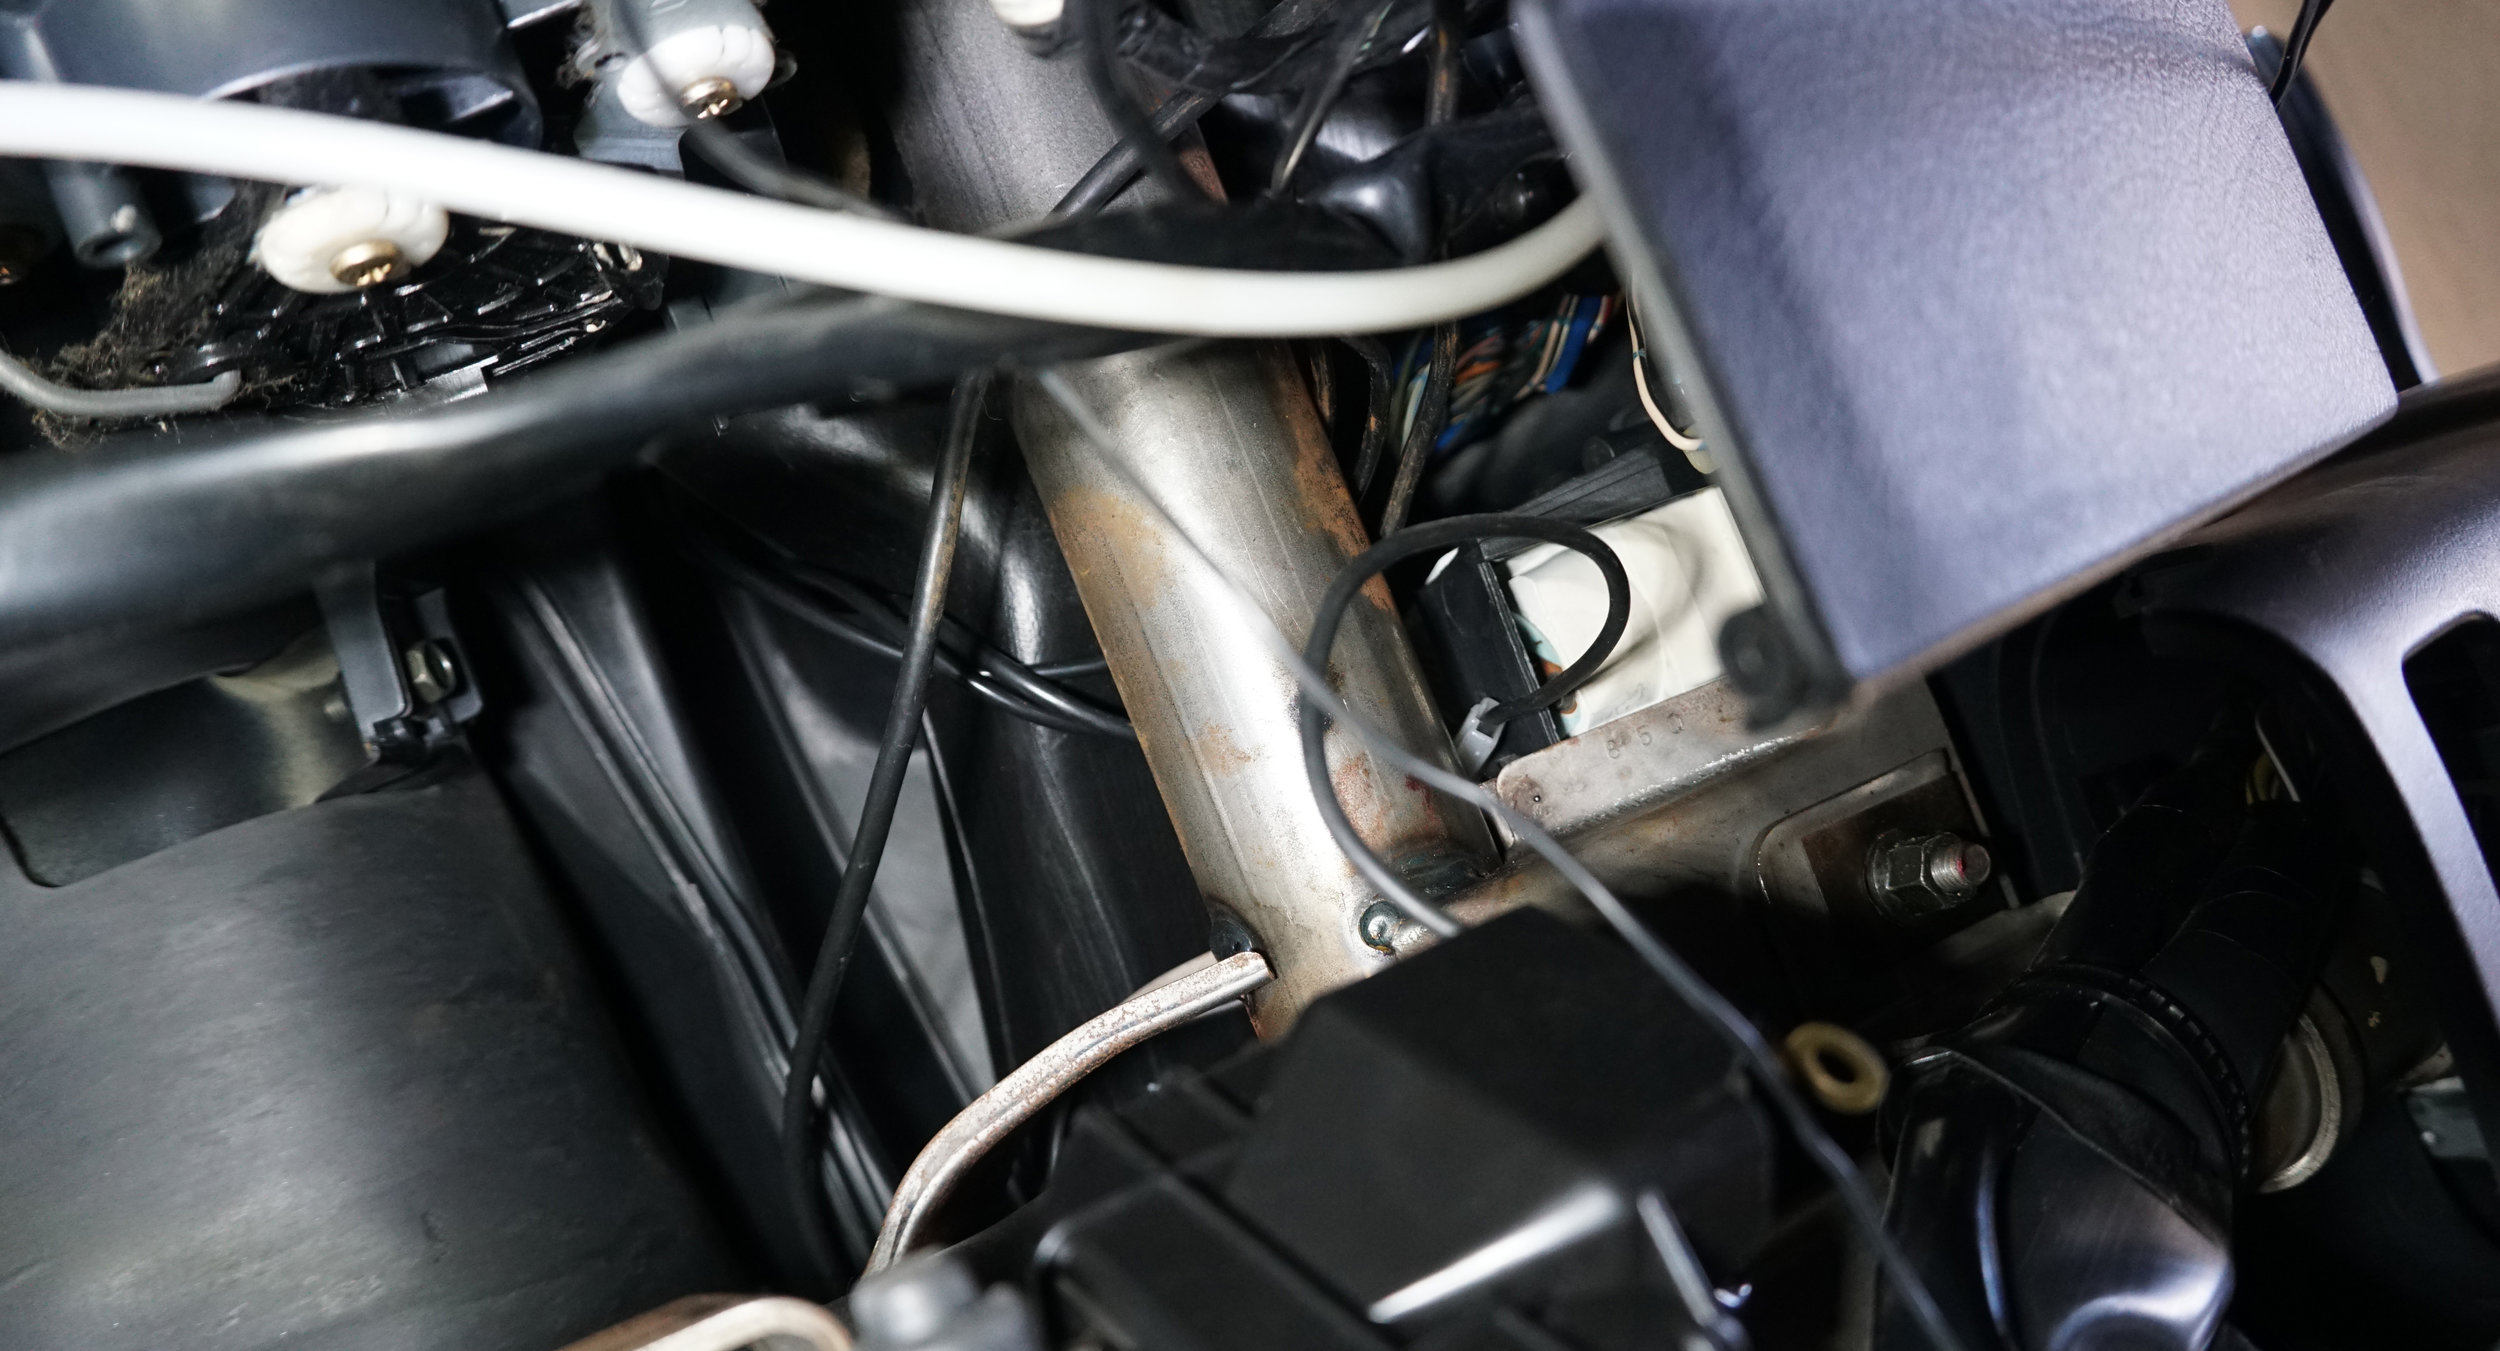
With that done, back to the interior. While this panel looks removable as it should be given that it’s a clock option on some Altos, for some reason this is most definitely a solid molded part with the dashboard. Just as well, I had to drill a hole just big enough for the harnesses and wiring to poke through.
After cleaning up the wiring as professionally as I could, I put it back in the dash, connecting the power terminals and tucking the wiring cleanly under the dash, leading to an unused grommet near the door jam. Finding a similar grommet on the outside of the body behind the door panel and right fender, I tucked the loom of wires through for a somewhat clean install.
These grommets lead up inside the fender to the engine bay, where I discovered I should’ve *properly* measured the wiring instead of merely roughly measuring. With the wiring tucked alongside the stock harness, weaving up and around the engine bay, through the fenders, and up from under the dash, it came out short. About 30cm too short... Rookie mistake. Didn’t I say I was a “pro” at this?
To my displeasure, I had to re-solder some of the wiring and extend portions of it. After properly wrapping protective sleeves over all exposed wiring, I am now quite happy how it eventually turned out, but disappointed that I wasted more time on this than I hoped. With all the seats back in, it was already relatively late in the evening.
I turned the car on and… no radio or accessory power. My ETC reader, my 12V DC / iPhone charger USB port, and my radio were absolutely blank. At this point, I was just glad the car still drove. It has been roughly 4 days, yet still the oil cooler and gauges were not installed and now my radio wasn’t working. What in the heck have I been doing all this time?
After work the following day, I finally found some relief. I discovered I inadvertently messed up the wiring in my zeal to clean up and simplify the radio harness and tap it for power. I actually overlooked two things: First, I failed to connect a grounding wire from the radio surround to the actual chassis. That explains my radio. But as for my cigarette lighter power socket, it turns out at some point of my install I must’ve accidentally crossed the positive and ground terminals, shorting out my fuse. Replacing the spare 20V fuse included in the lid of the fuse box, it was back to good.
Finally, the two gauges powered up in accessory mode! So far, so good… Let’s crank up the car… Awesome! The boost gauge lights up and seems to be getting a reading off the sensor. The oil pressure sensor is not getting any reading since the oil plate isn’t connected, so it is constantly beeping a warning. It was maddeningly annoying, so I had to disconnect that for now.
(Temporary) Conclusion
Everything seems to be working as they should be for now. I’m not too concerned on the accuracy of the boost gauge or the oil pressure senders; as long as they work to a fair degree to show roughly the engine operations under the hood, I’m happy. This fits perfectly with the budget, DIY build of the rest of the car.
And you know what? These aren’t terrible. You get what you pay for, but in this case I mean it in the kindest way. The quality of these knockoff gauges can’t possibly match the real deal in terms of reliability or accuracy, but then again these are a quarter of the price of Defi stand-alone Racer gauges. They will be replaced when I come across better units in the future, but for now they will suit their purpose.
…let’s get back to the oil cooler next time!


