[ Alto Works ] Rally Roof Vent, Part 2
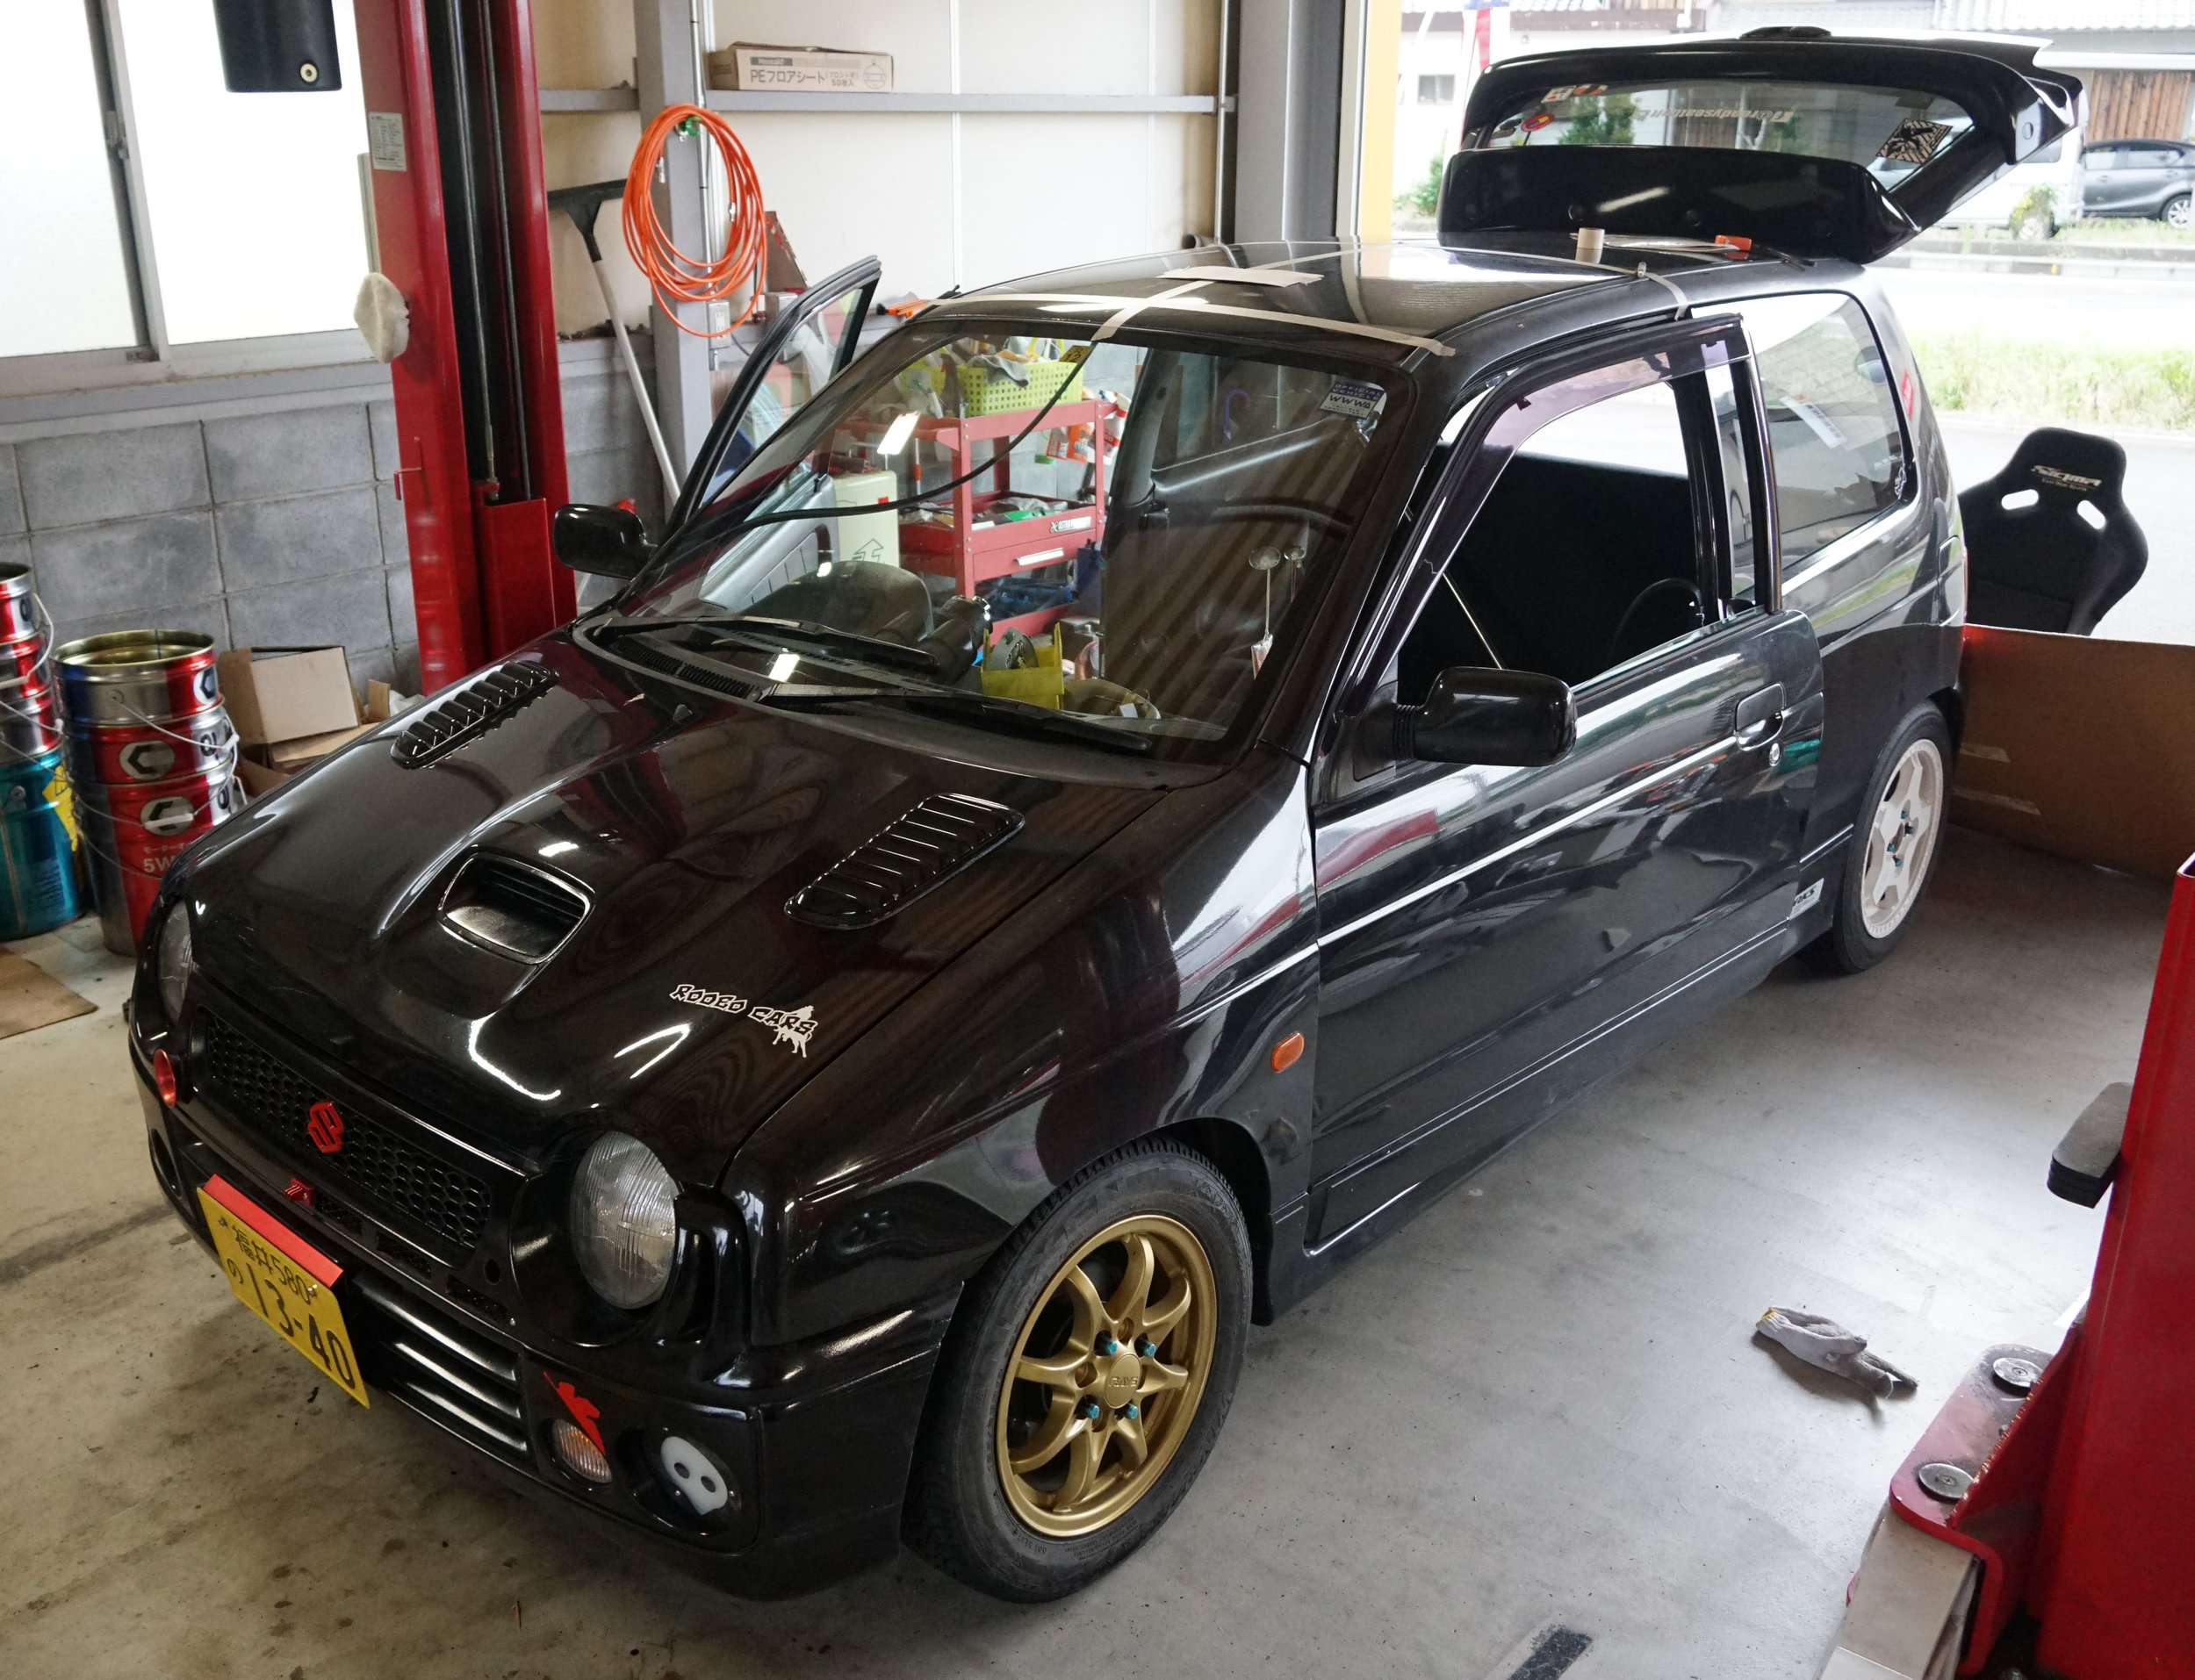
Once again, Matsuda-san at Rodeo Cars has allowed me the generous use of his garage for my selfish projects like my hood vents, lowering, oil cooler, among others, though I try to do as much as I can in front of my apartment. This one, of course, is especially critical that the car be covered because of the gaping hole soon to be in my roof. Here are some of the tools I’ll be using.
I read somewhere that they recommended a nibbler cutter, since the sheet metal is so thin that a jigsaw, angle grinder, or other reciprocating blade would potentially ripple or warp the roof. Supposedly this would make cleaner cuts as it essentially “punches out” the metal. Having never used one before, I experimented with other scrap material beforehand to make sure I was comfortable about how it works.
Holy crap it’s clean and doesn’t even make 0.5mm aluminum sheet too wavy.
First off, I did not want metal shavings on the front seats and I needed some room to work underneath, so the seats were pulled and plastic tarp laid out. In order for the interior roof lining to be removed, more of the interior needed to be taken out, as it is held in by clips, screws, and the plastic around the A and B/C pillars.
Excited to get started, I started masking off the lines where the vent will go, starting first with finding the center of the roof, then from there using a template to find the optimal position of the vent. If the vent is too far forward, the air will blow toward my legs and it may hinder an added roll bar in the future; far too back and the vent will blow toward the back of my head. With no way to necessarily test it, it was up to guesswork.
Once it was decided, I should’ve also rechecked the size of my template...
At first, a center punch was used roughly in the center to start the drilling process. Pop... There is no turning back now.
Once an adequately-sized hole was made, the nibbler cutter could be used. Being a complete newbie to the tool, I was slow with the cutter, moving the drill far from the edges in the off-chance I “slipped” and cut off too much material. As they say, you can cut material, but you can’t add it… easily, that is. I got a little confident towards the end and went only a few millimeters from the marked edge.
Using a portable belt sander, I shaved off the remaining metal until the edge of my template. It turns out, the template I made was about 6mm short, so the vent wouldn’t fit yet. I had to re-measure and shave off more material. But in the end, this was better than cutting too initially much, right?
The vent could finally be pushed through and fitted. I drilled 10 holes around the vent so it could be bolted into place.
Before the end of the first evening, I cleaned up the edges the best I could and painted all cut holes with specifically rust-resistant enamel paint which takes a few hours to cure indoors. The last thing I would want would rust to form as a result of my cuts -- there are enough rust spots underneath the car as it is.
Day 2
At the start of my second day of into the project, I added one more layer of fast-dry acrylic lacquer paint to ensure that the exposed surfaces would not rust for added insurance. Now it was time to put the silicone sealant on for as much water resistance as possible.
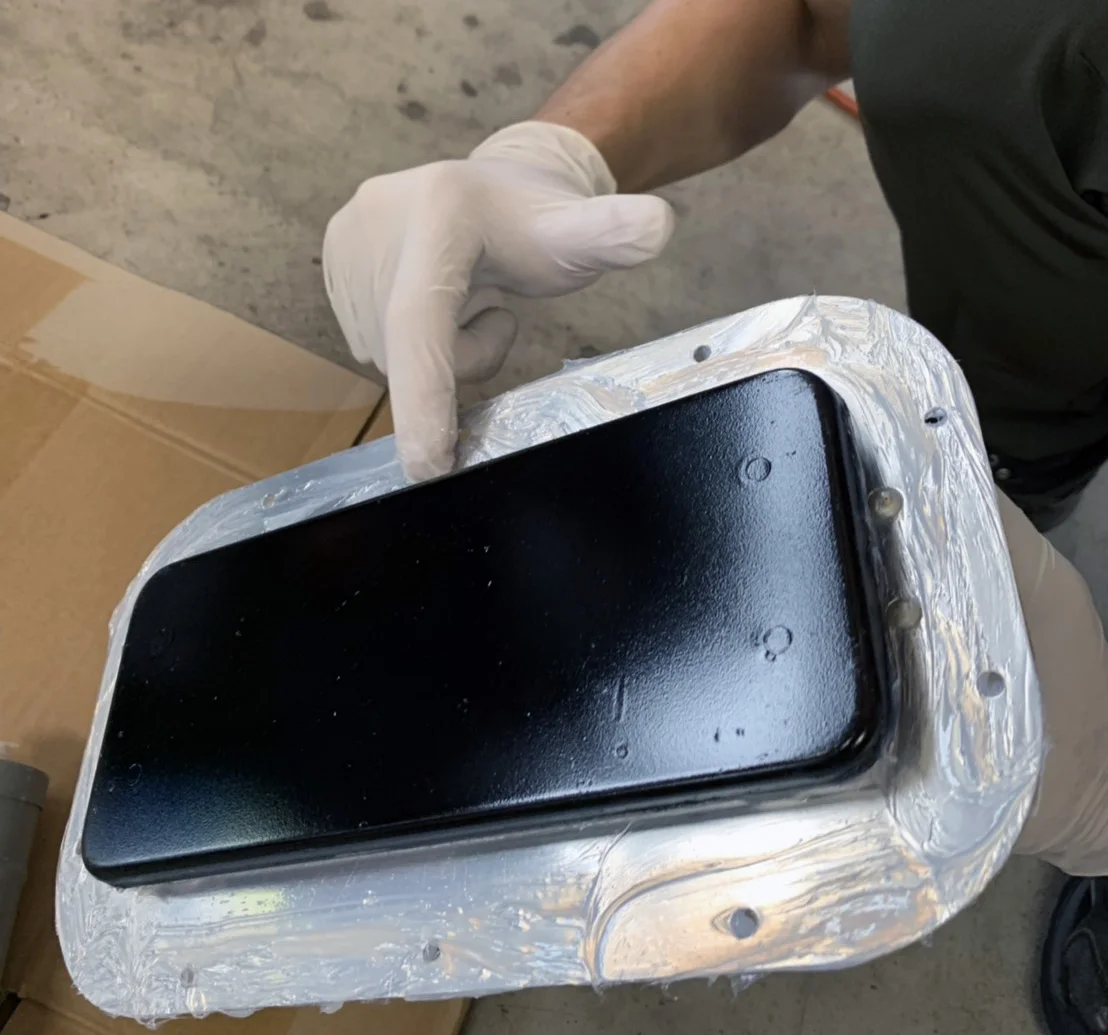
This stuff is messy, but an absolutely necessary step to prevent water leakage into the cabin. First, a generous coat around the exposed, unpainted silicon edge.
Once done, we pushed the vent through and put a few screws to help hold everything in place while the silicone cures. This stuff takes several hours to dry to the touch and longer to fully harden, so our working time is quite comfortable.
Unfortunately, this still leaves a bit of a “moat” around the lip of the vent and the roofline. Therefore, more generous coatings of silicone were needed all around the edges of the vent to prevent water from pooling. We liberally applied it in hopes of cleaning off the excess later.
This was a good idea, but I realized later removing this sticky stuff off is quite a pain.

